Quote:
Originally Posted by Flip

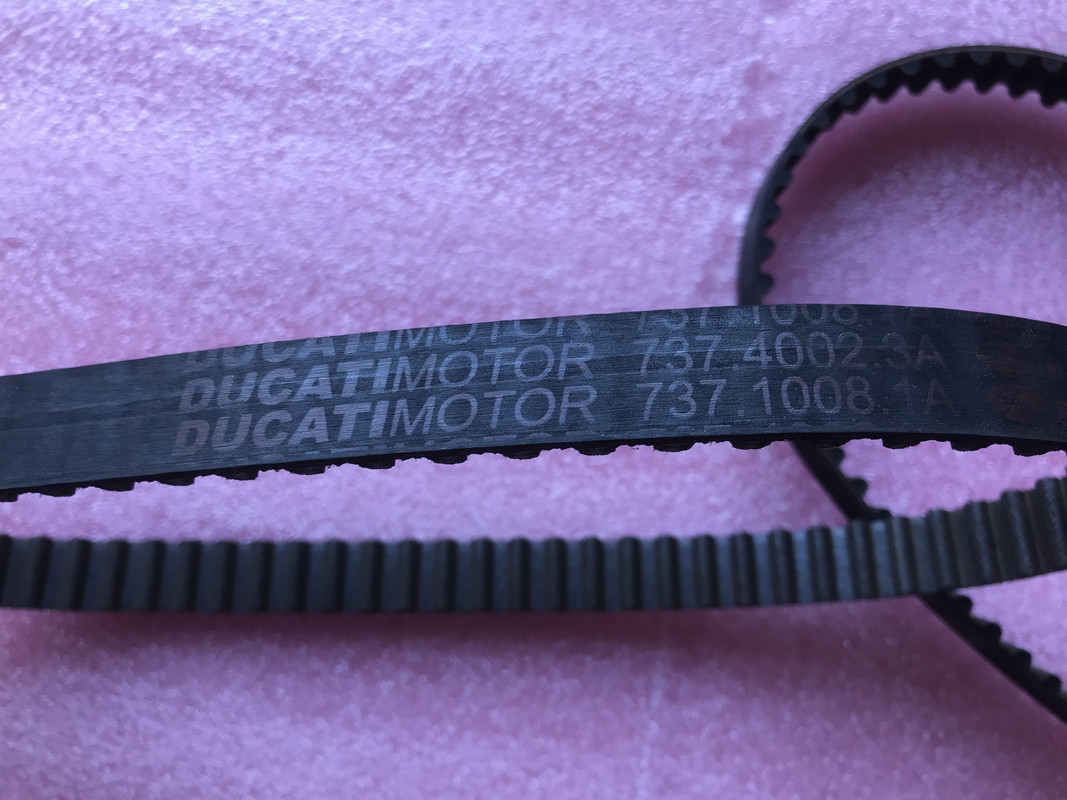
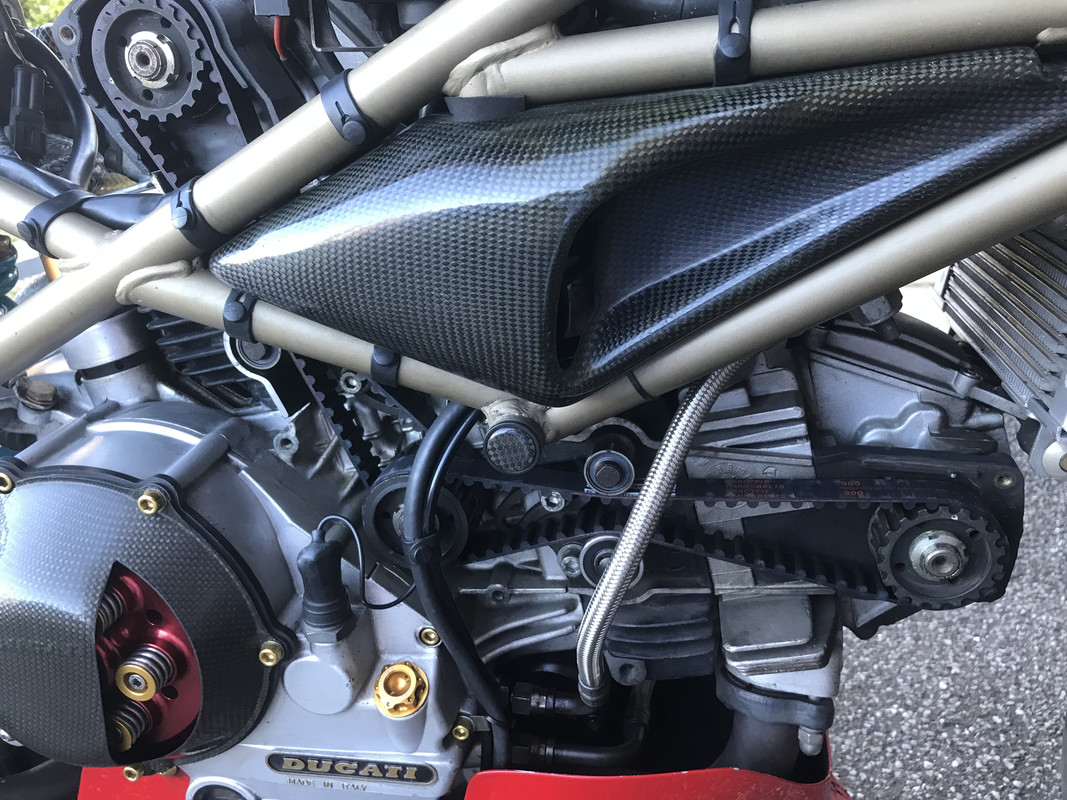
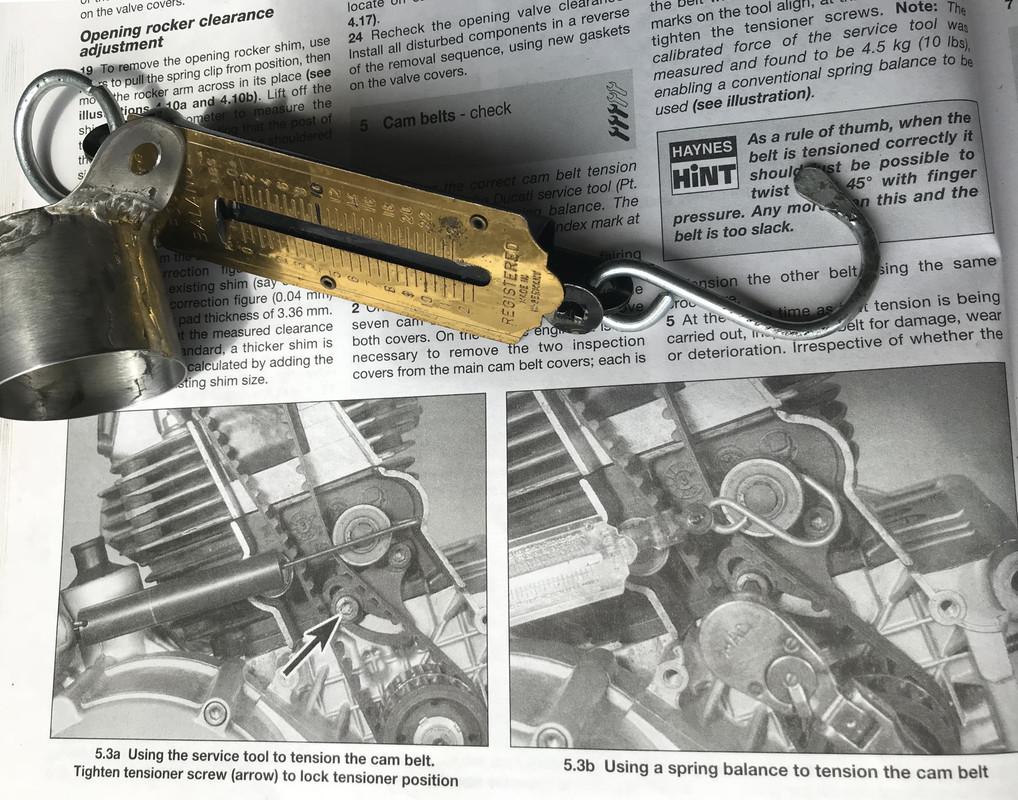
...... new belts fitted and tensioned using my tried and trusted spring balance method.
|
When I first got my 750 and was pondering the issue of belt tensioning, my initial inclination was to try to use a spring balance.
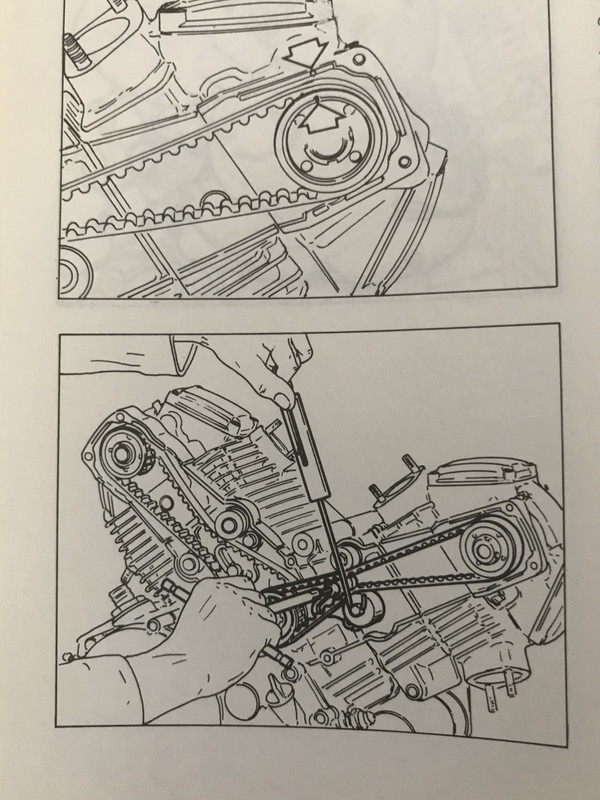
In the end I didn't but instead settled on a combination of the allen key method, a 45 degree twist test and a good general jiggle about with both the old belts before removal and the new ones after fitting.
I tend to avoid harmonic methods because it requires the trusting of both the device used and your technique .. too much scope for error, for my personal comfort zone.
However I am a believer in using multiple methods, to cross check each other.
So I now find myself wondering exactly where (and how) you attach the balance, how you ensure (maximise ?) a 90 deg pull, and how much you pull to achieve satisfactory tensioning ....?
And I'm guessing its too late for a pic by now ?
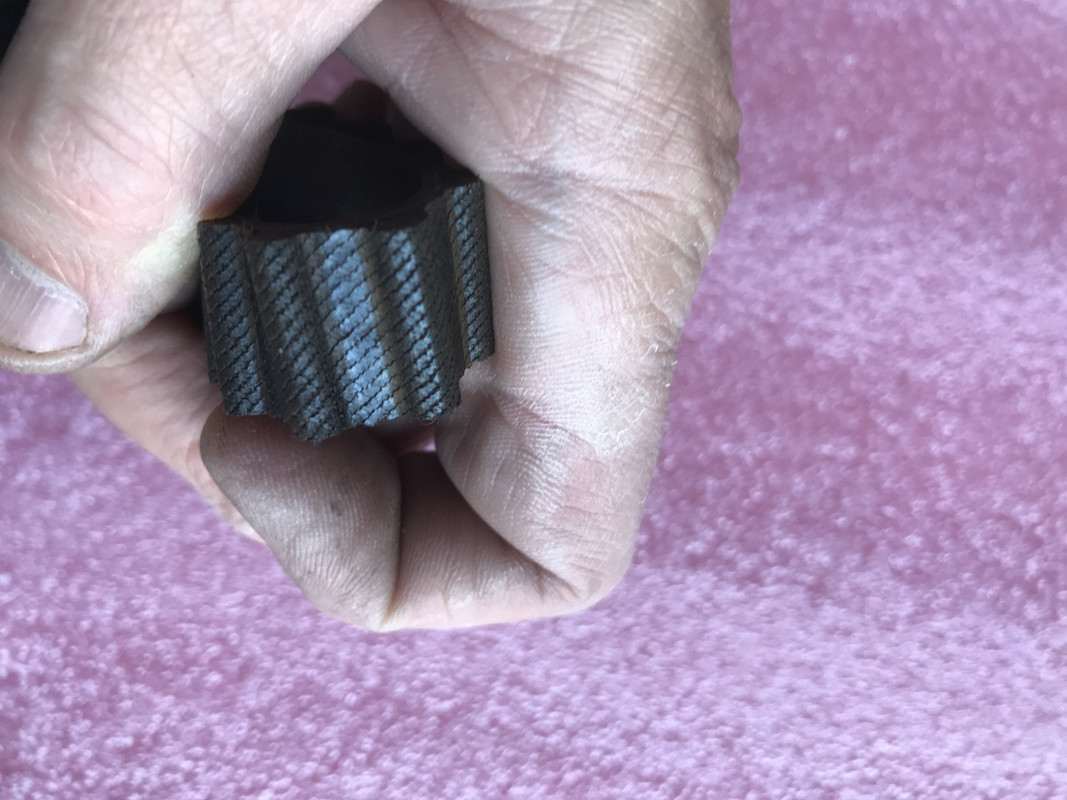
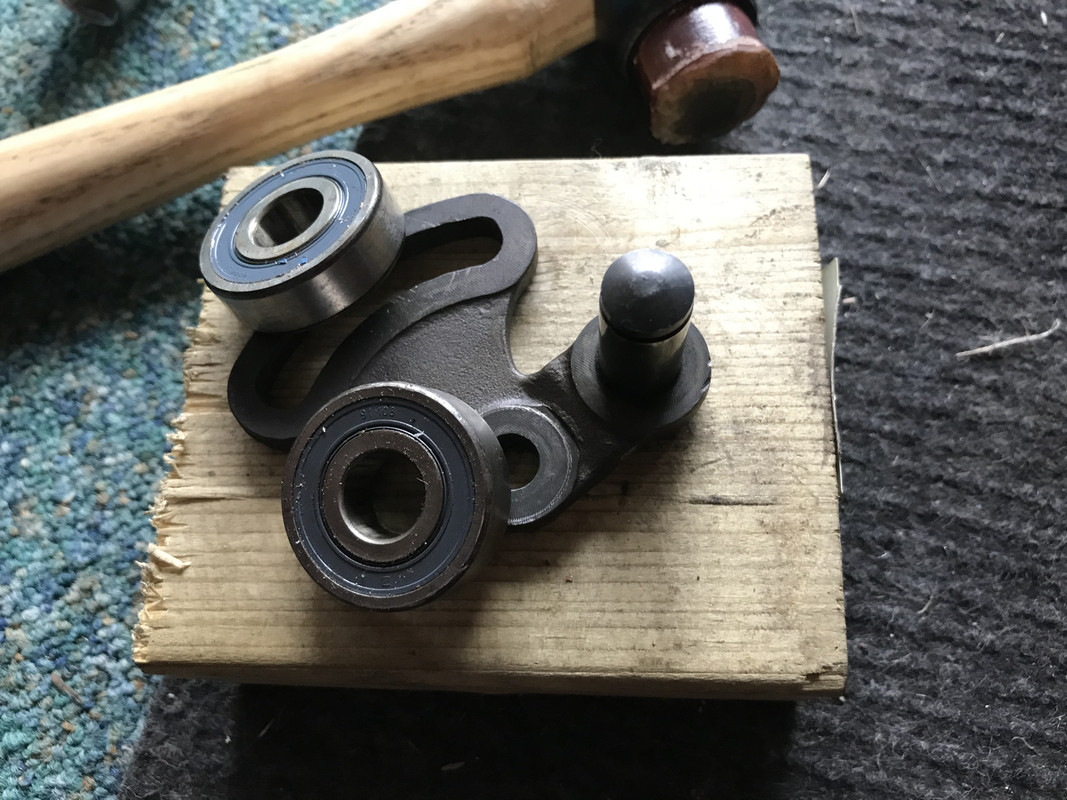
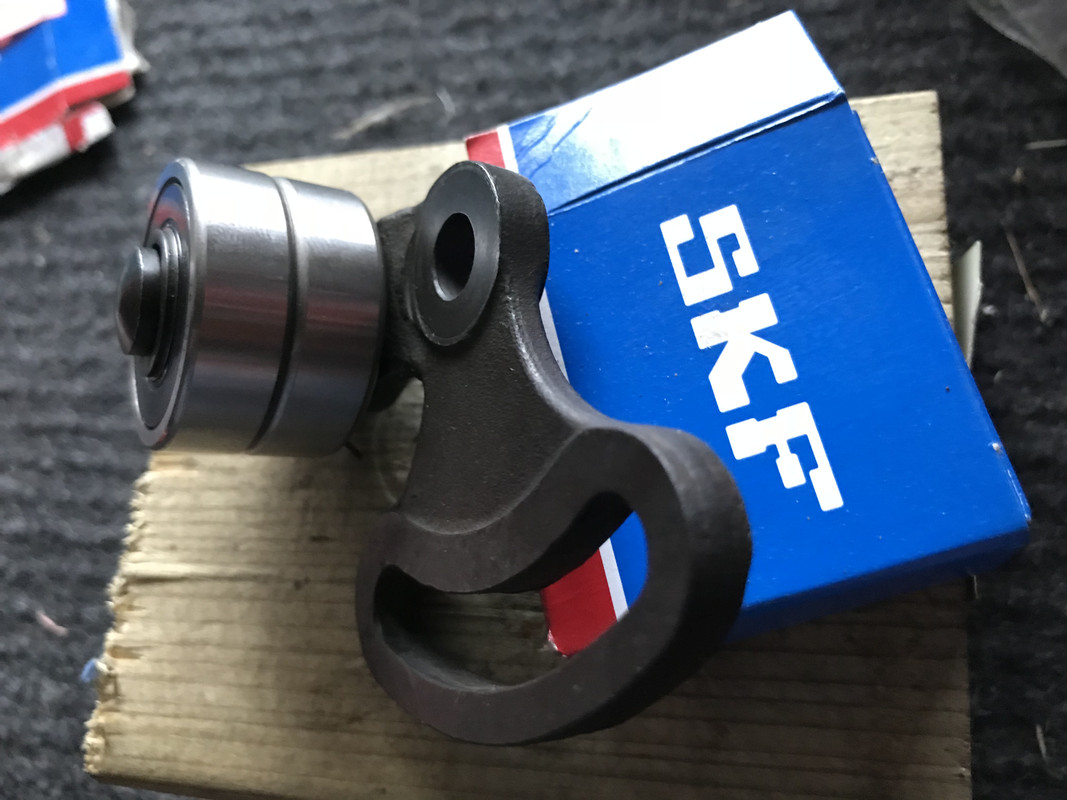
On the tensioner bearing replacement, I guess the object of the exercise is not so much to replace a bearing which is definitely about to fail but more to achieve peace of mind about a bearing that might be.
So job done, even if the old ones seemed fine.
I'll be doing mine at 30,000 miles too.


 Roast Beef Monster!


 Linear Mode

