Quote:
Originally Posted by slob

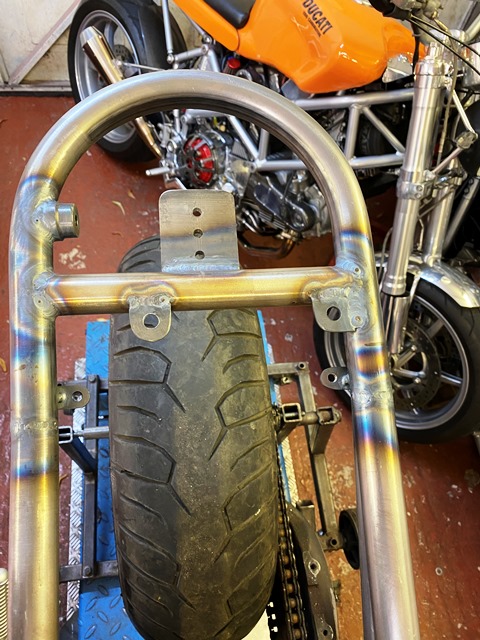
biased to the front, to improve airflow to the oil cooler?
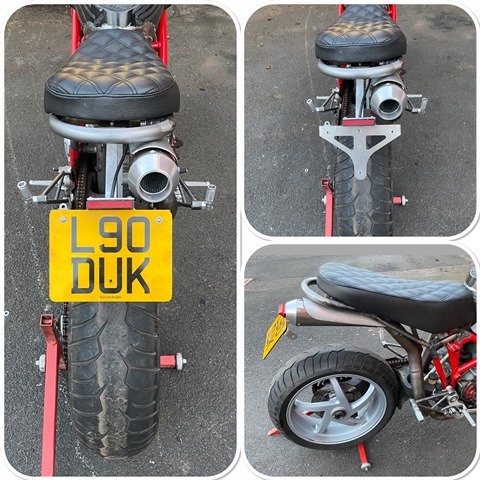
isn't the silencer going to hamper access to the r/h seat securing bolt?
as ever, impressive work nonetheless!
|
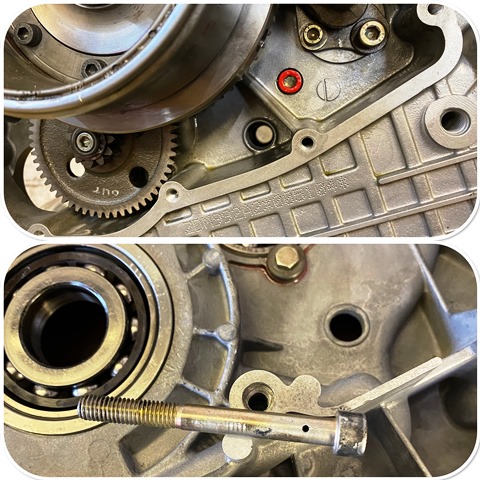
yes, I have had to put one bolt to the side so I can get to it with a ball end allen key

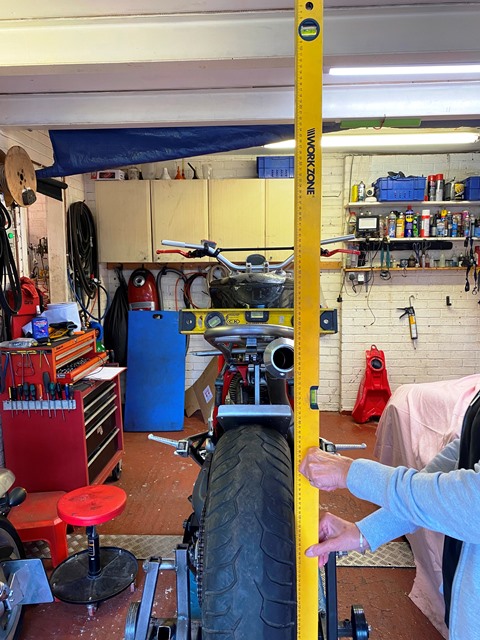
many (many!) years ago I modified the frame on a Bultaco for a race seat. I put a complete back end on, much like what I have done here. I made very careful measurements using various fixings as datums, and welded it all up. soon as it was finished, and the seat on, it was evident that it didnt sit straight on the bike. I was gutted as I had painted the frame. No one else noticed, but it bugged the hell out of me for years! I learned from this, these days, here is how I do it
I get the bike dead upright to a spirit level on the wheel, and then make sure the seat is level. seems to work!
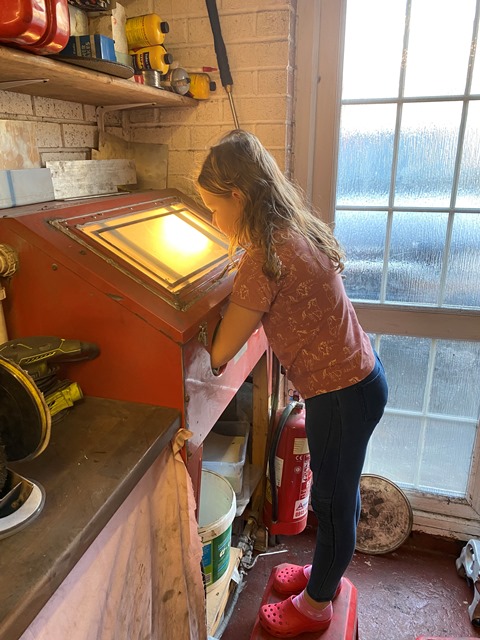
I have also made a new purchase... an auto darkening welding mask... why the hell I didn't buy one years ago I just don't know! its so much easier!


 Linear Mode

