UK Monster Owners Club Forum » Gallery » UKMOC Bikes » My M600 Dark

Reply
 
Thread Tools Rate Thread Display Modes
Old 18-08-2015, 12:20 AM   #1
SpeakForYou
Guest
 
Posts: n/a
My M600 Dark

Hey everyone, if you have been checking out the newbies area last month you might have seen I finally got my Monster I will be doing wee odds and ends to it at the moment with the plan to start cosmetically tidying it up over the winter. Enjoy!

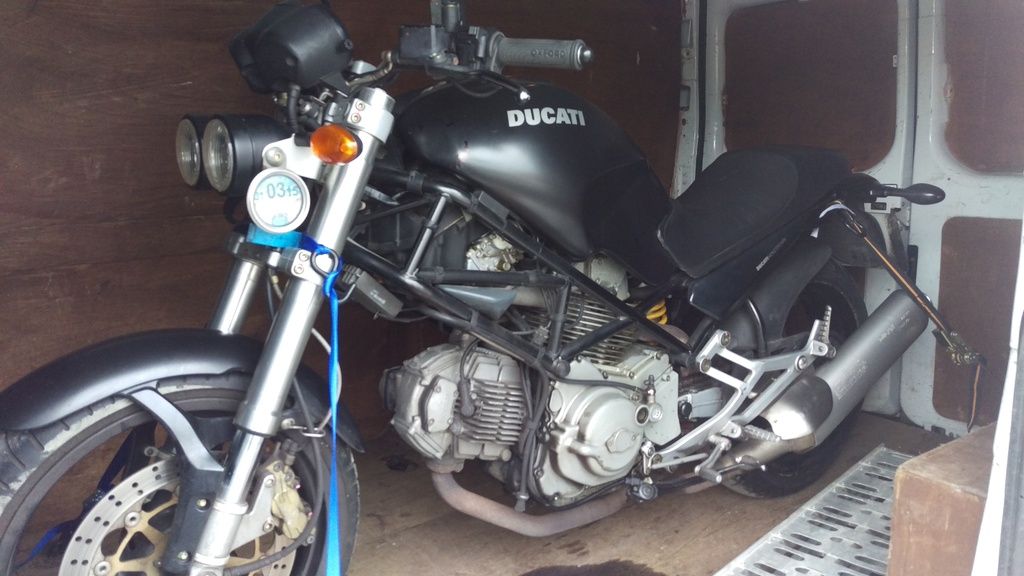
First picture I took of her in the back of the van before the long journey home to Scotland!
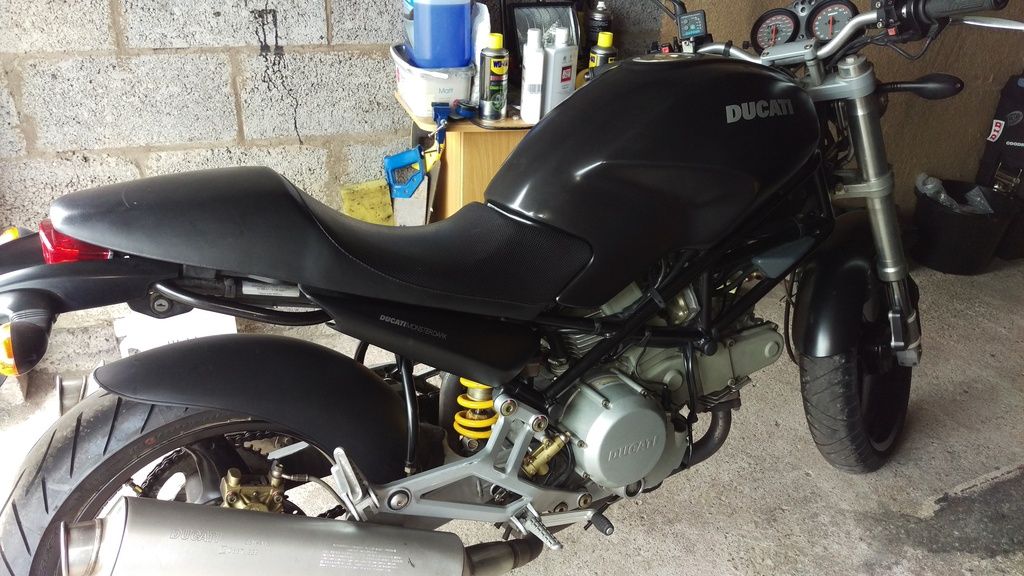
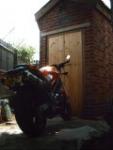


Home at last!


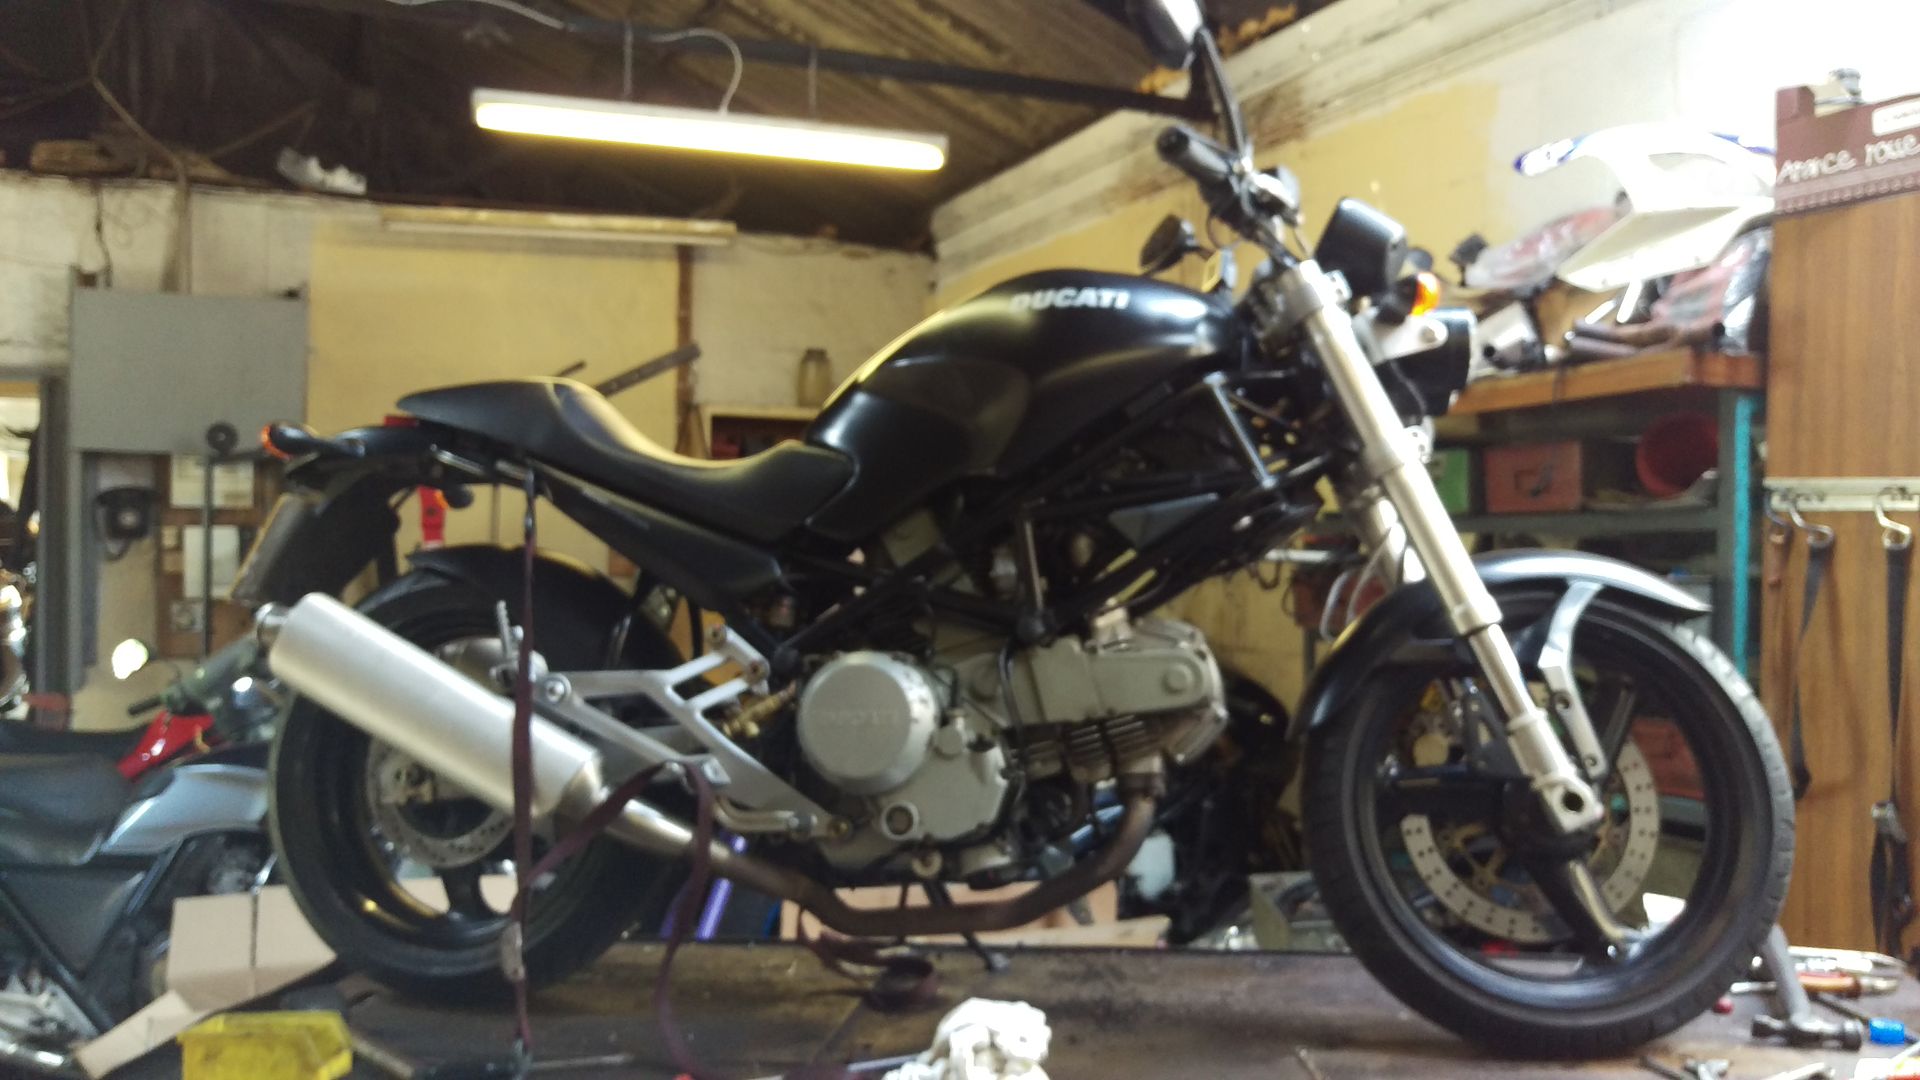
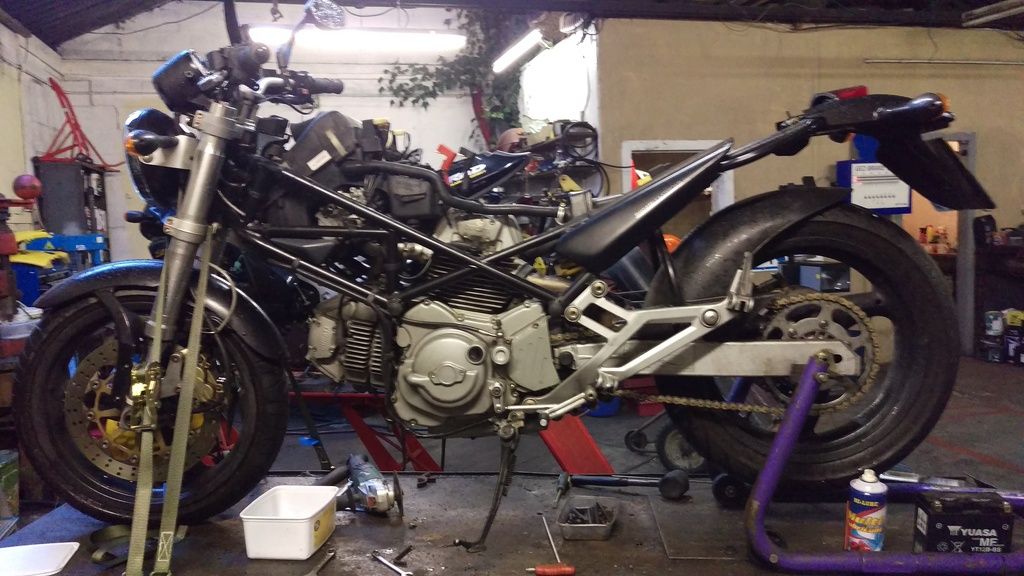
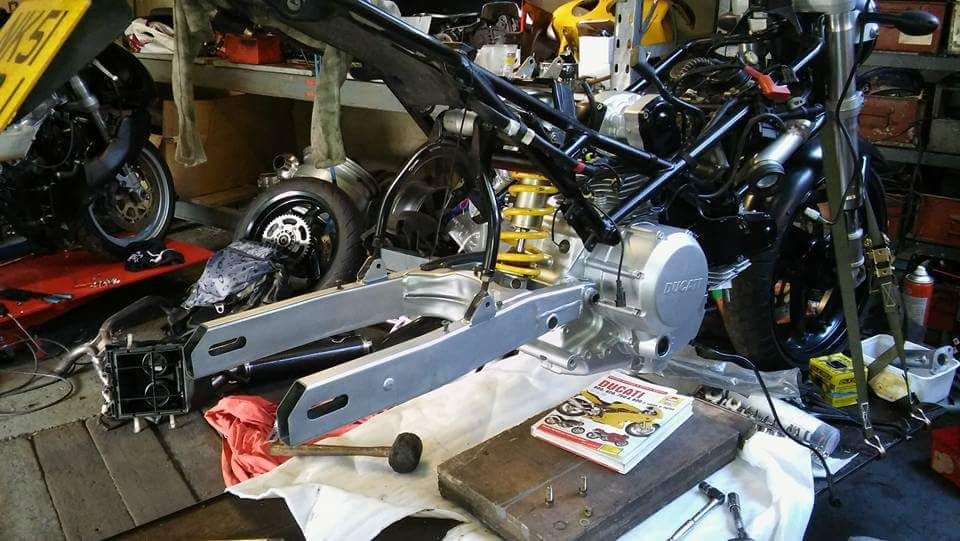
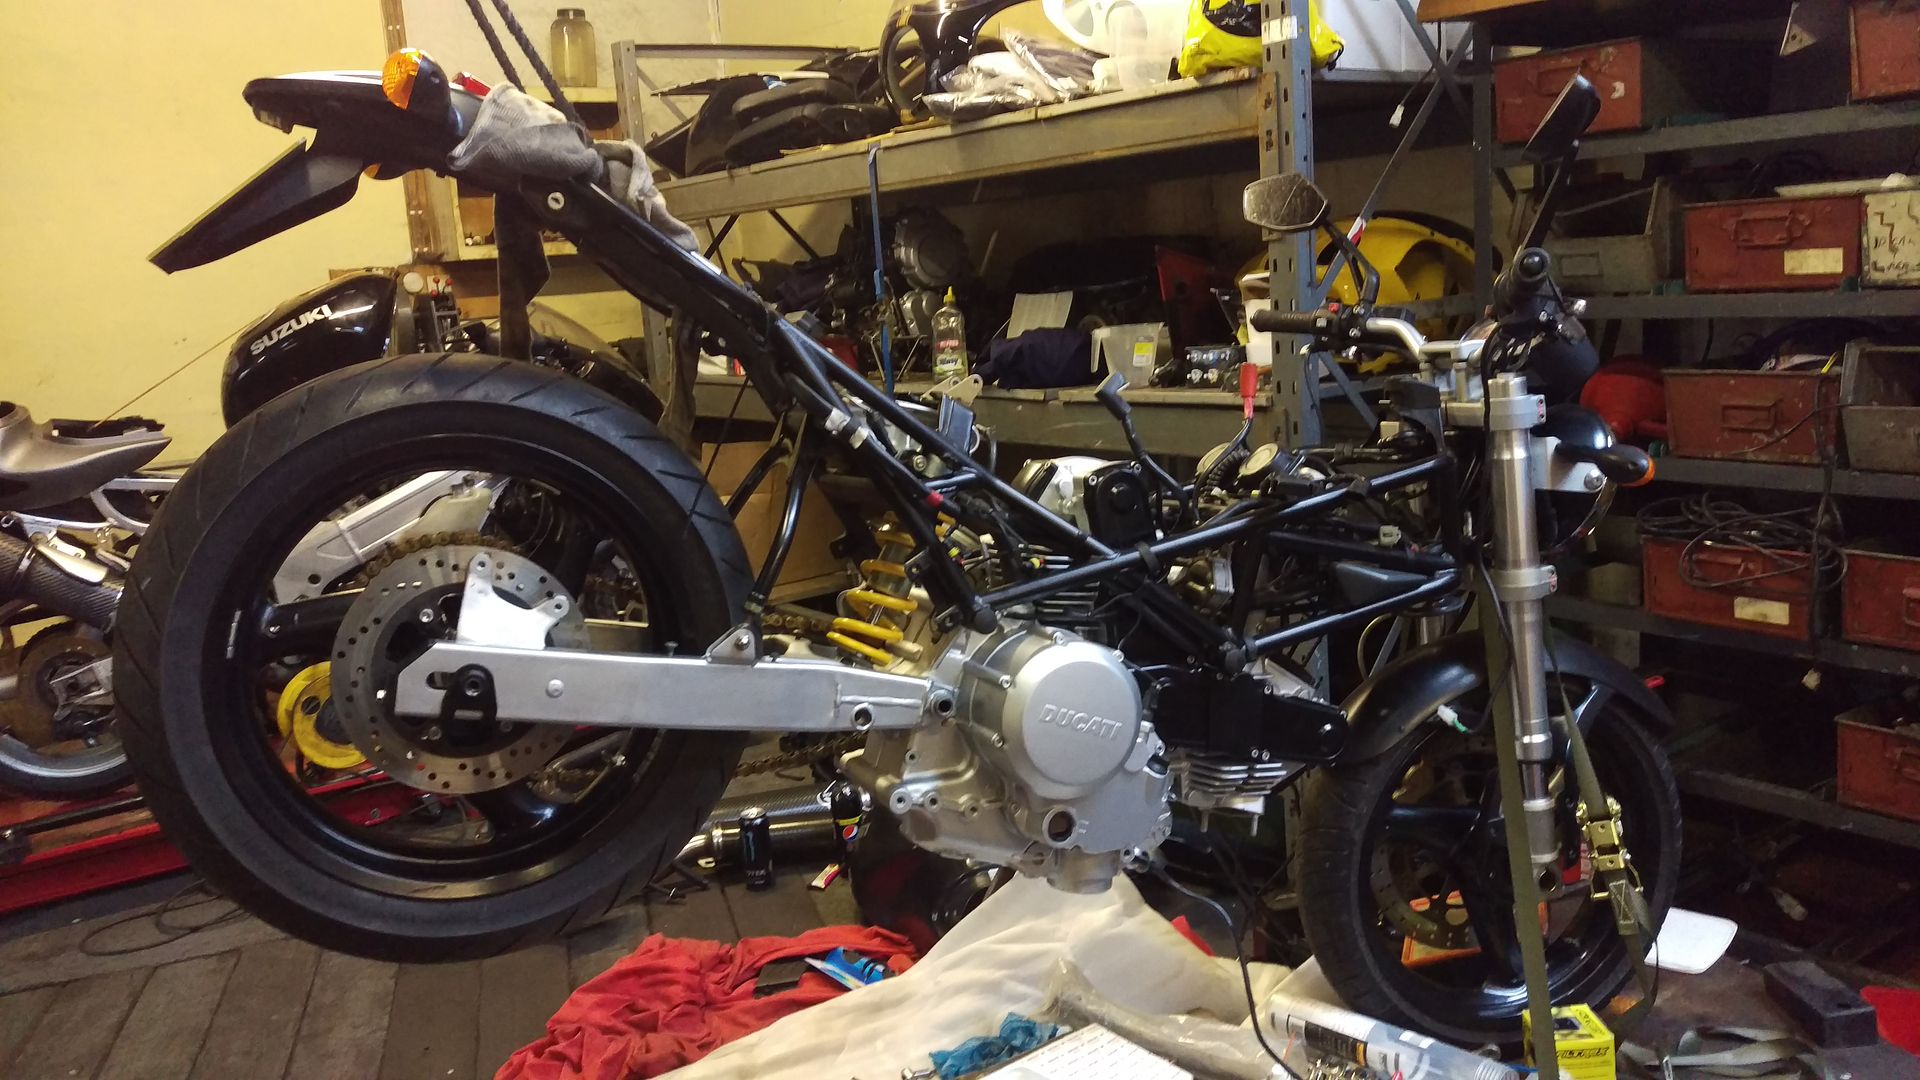
Okay, so my back brake forgot to show up to the party so here she is in the workshop. Changed the fluid but made no difference so took it to my pal, turns out the pads were contaminated. New pads and back brake is back!


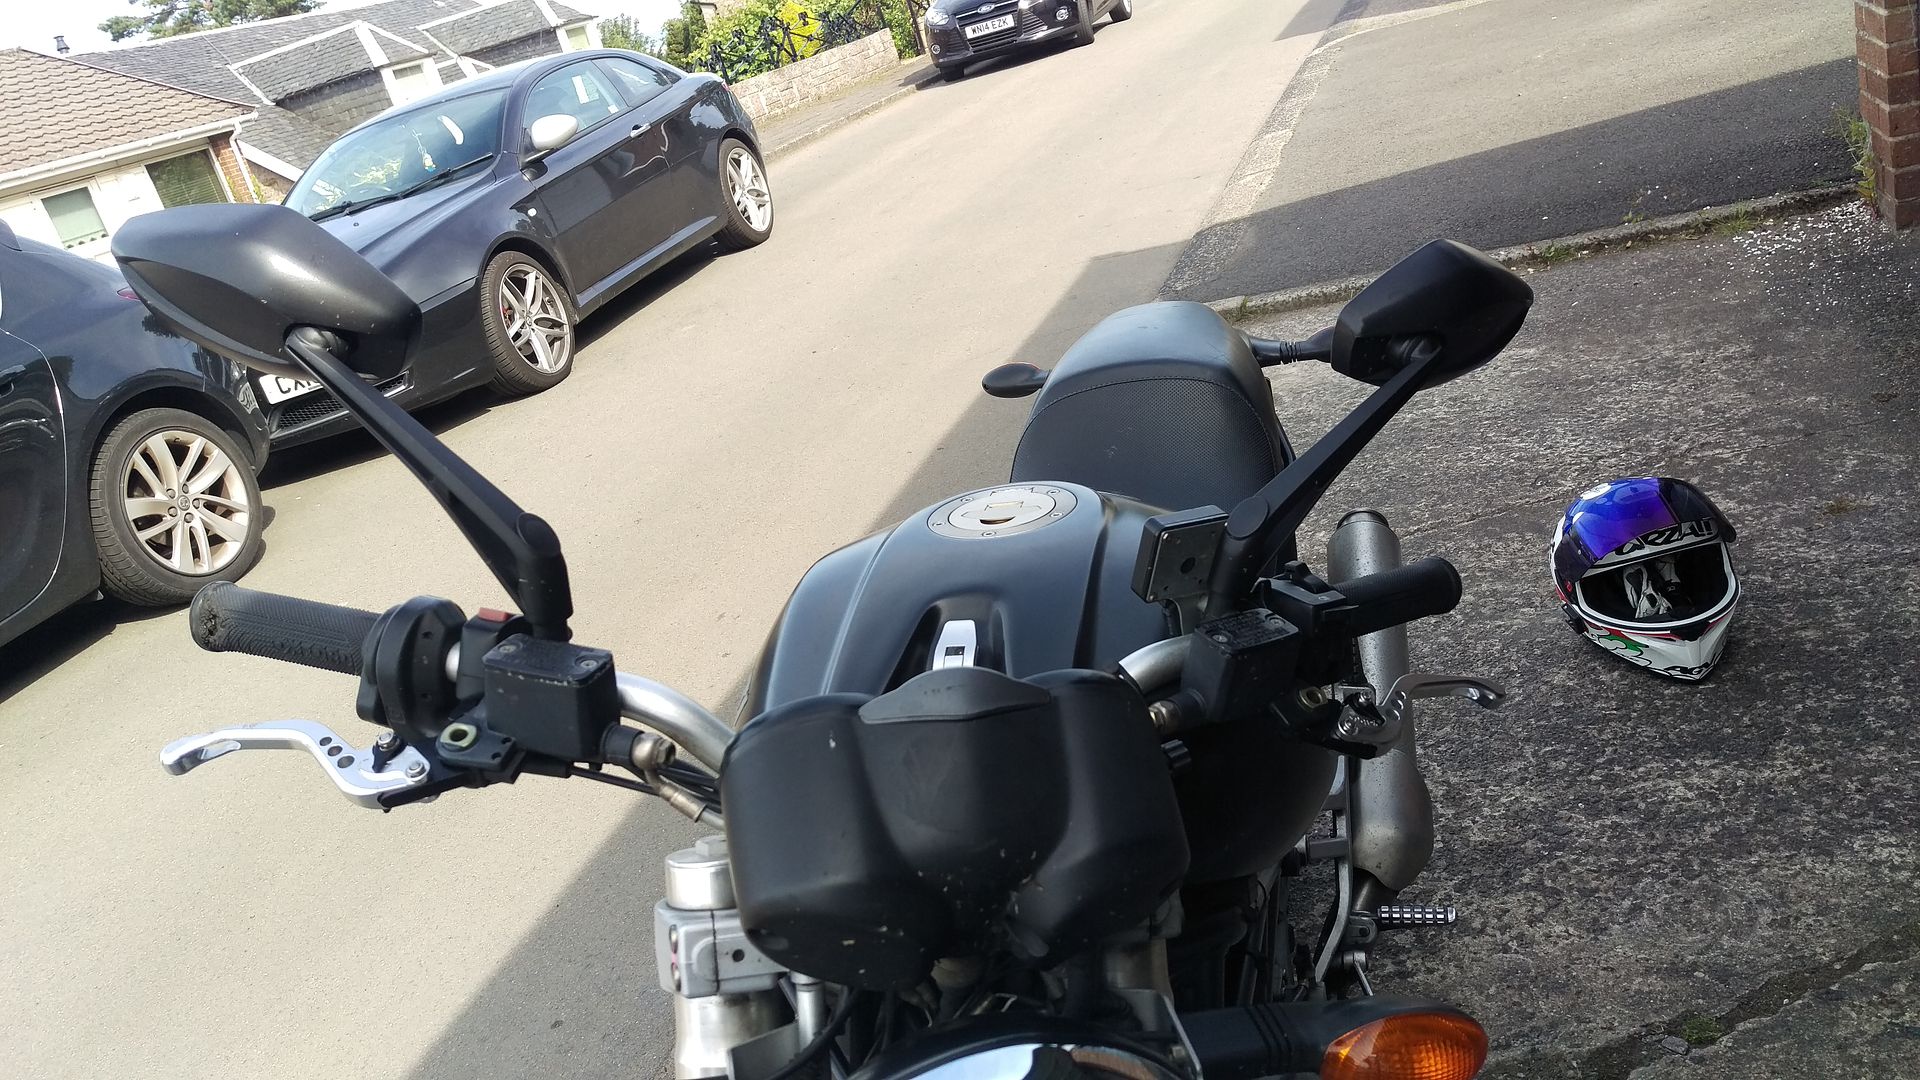
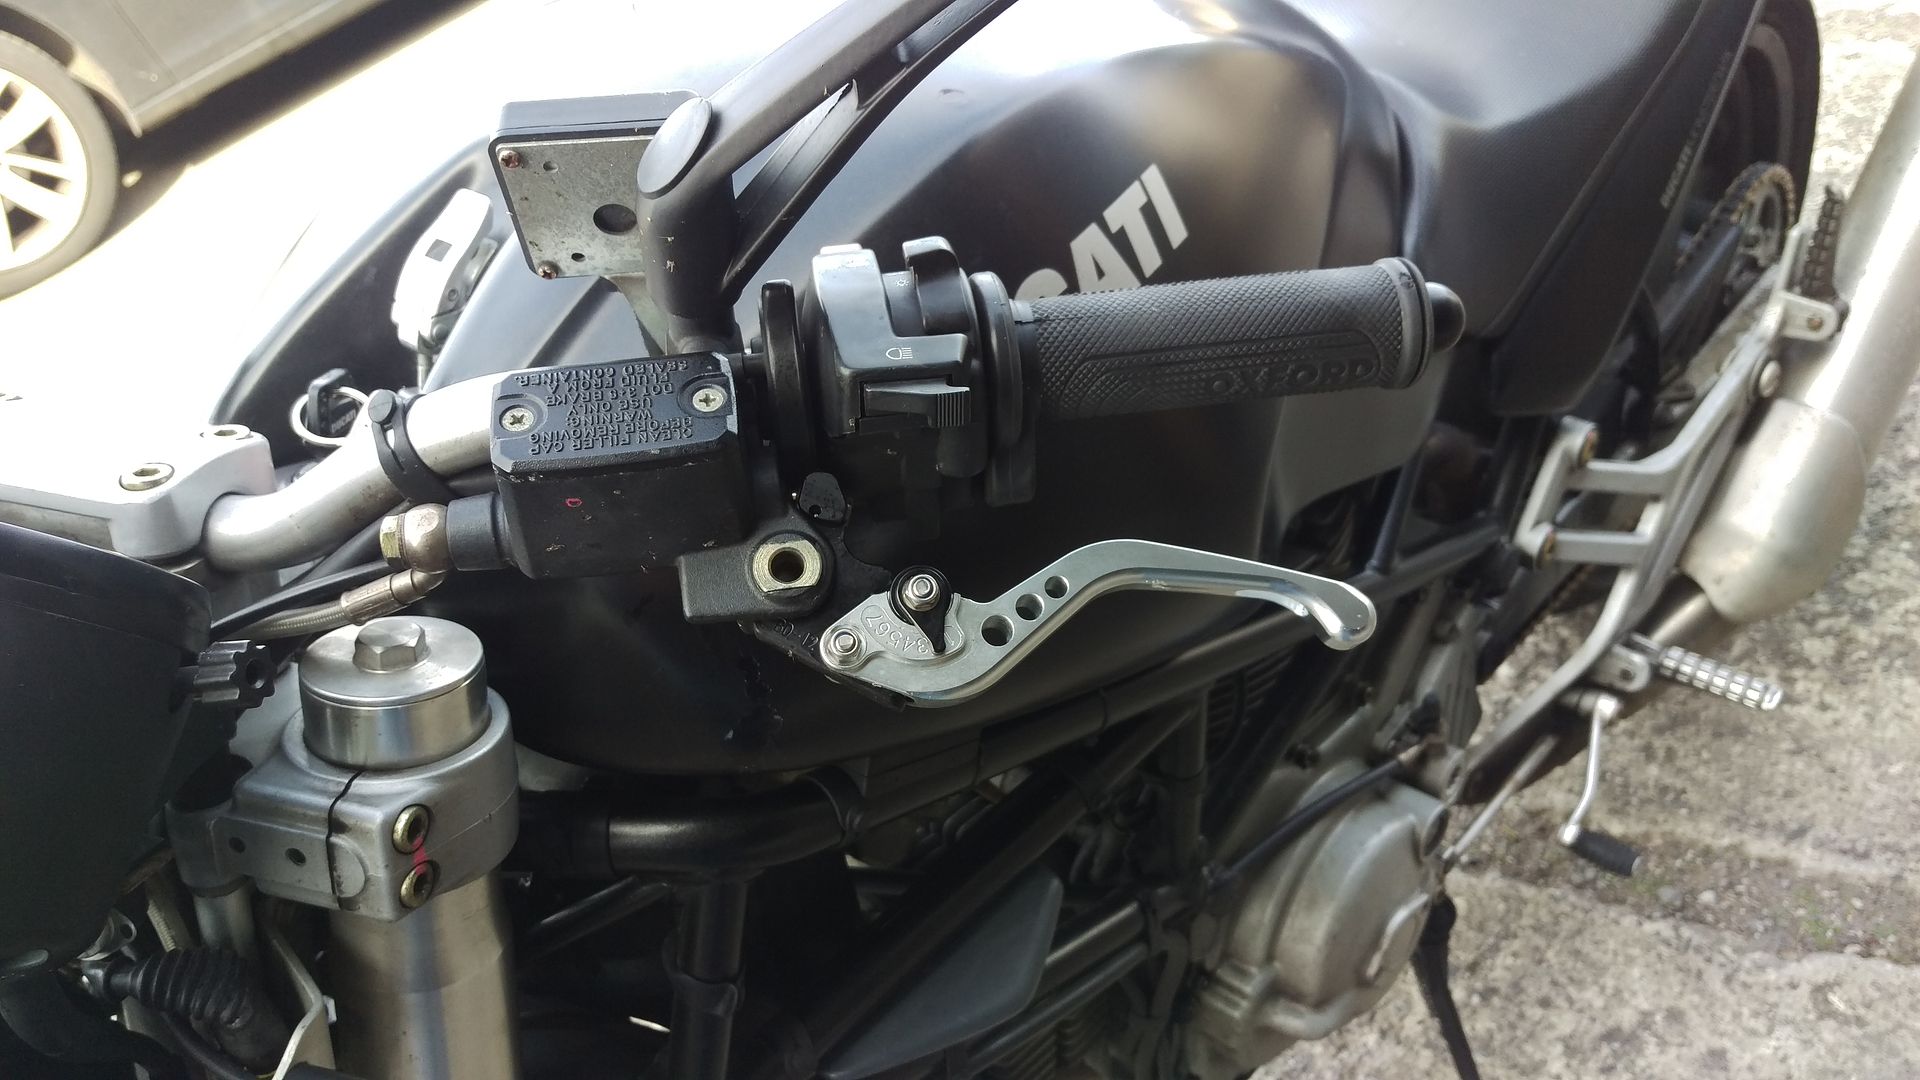
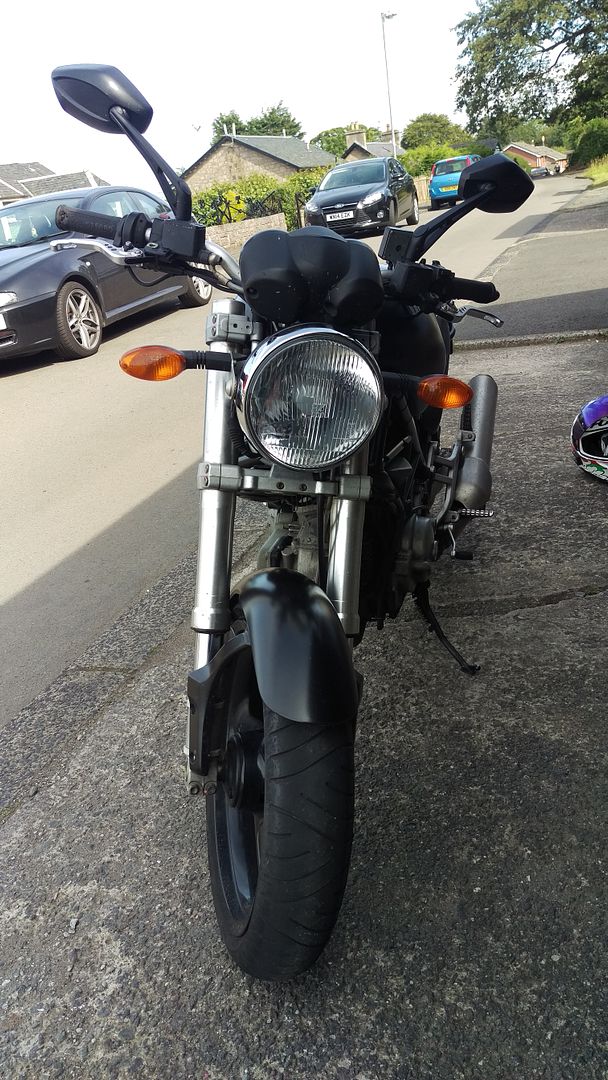
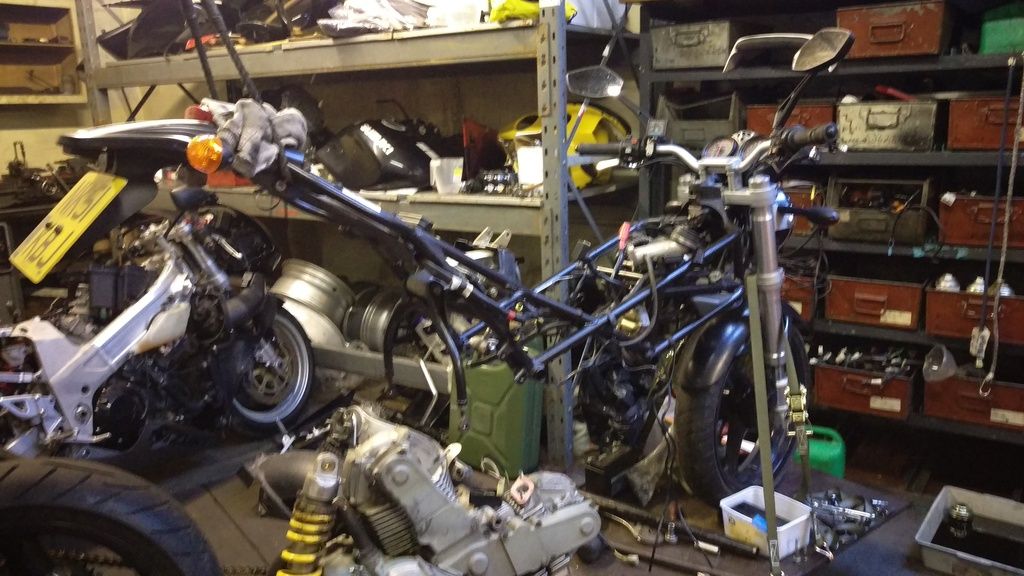
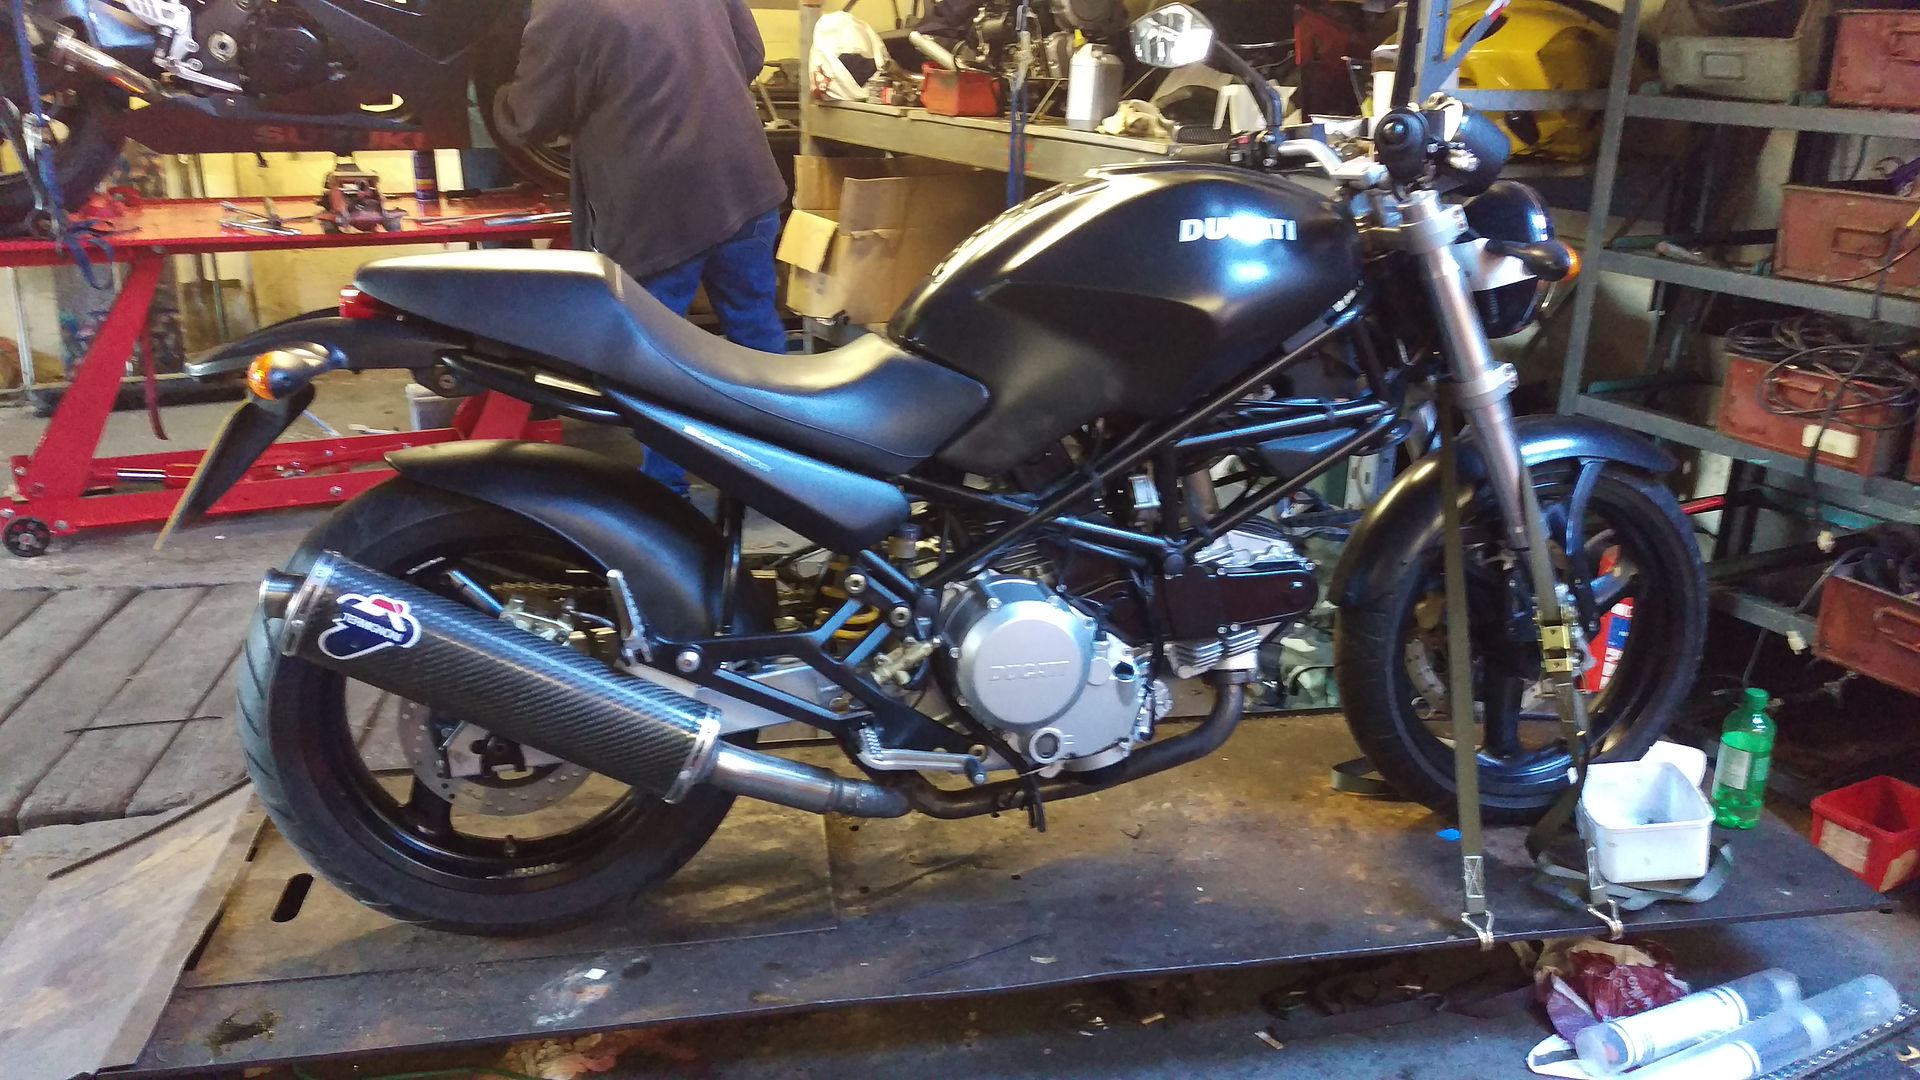
So as you can see the mirrors don't match, levers don't match, as those god awful headlights

First thing first, new mirrors that match!


New shortie levers for my small baby hands!


The iconic look with a new headlight!


Last edited by SpeakForYou; 27-04-2016 at 12:44 PM..
  Reply With Quote
Old 18-08-2015, 12:21 AM   #2
SpeakForYou
Guest
 
Posts: n/a
Major cosmetic bits done for the month, now the mechanical bits.

The chain had some tight spots and the sprockets had some corrosion so treated it to a new DID chain (didn't realise it was black and gold) and sprockets.


So bad points, none untill tonight. The red button to flip between full/dipped beam isn't working right so when you press to dip the light only the side light comes on no dipped, dip will come on once you wiggle the button. My mechanic pal sprayed some contact cleaner in and made no difference, except for the fact the dipped won't even come one when you wiggle the button.

Next problem, tried to adjust the lever span while riding tonight (I know, stupid me) don't know what happened but the pin slipped in the wee cup bit it sits in on the lever and jammed my front brake on! Managed to come to a safe stop and 2 bikers stopped to help. Got the lever off to try and fix it and a orange/ gold bit dropped, bounced of my boot and vanished into thin air. Brake lights are stuck on so I'm thinking it was a piece of the brake switch. Anyway, managed to get the bike home but looks like I'll need to get a new switch and take the left switchgear to bits to try and fix the light.

Wish me luck.
  Reply With Quote
Old 18-08-2015, 01:28 AM   #3
Dookbob
Guest
 
Posts: n/a
You sound like the kinda guy who will get there, good luck with it.
  Reply With Quote
Old 18-08-2015, 02:31 AM   #4
utopia
No turn left unstoned
 
utopia's Avatar
 
Join Date: Jun 2010
Location: leicester
Bike: M750
Posts: 4,545
Ahhhh .... Looks proper now, with the round headlamp.
Similar looking levers to my own too.
But get that brake 100% sorted ...take no chances.

Check out threads on the forum about crankcase savers, and fit one to finish off your new chain and sprockets.
Its a little, curved plate that fits behind the front sprocket cover and serves to guide the remains of a broken chain safely away, rather than smashing your engine cases.
Broken chains are rare, but they do happen, and little more than a tenner buys you good insurance.

If the clutch feels heavy, consider an aftermarket/replacement slave cylinder.
My advice would be the Factory Racing one, which is well built and often on offer on ebay for around £50, which is roughly half price.
They do a black one.
I have basically the same one on my bike, though mine is branded differently.

Oh, and if you've had new rear pads fitted, try jiggling the little rod between the lever and the master cylinder, to check that there is a decent amount of free play (with the lever at rest).
If there is insufficient free play, any air or moisture in the fluid can expand, causing the pads to drag, causing further overheating until the rear brake locks.
Don't worry, its doesn't happen frequently but again, it is a known gremlin which has caught a few people out.

Pardon me for spouting advice, but you sounded new to it all.
utopia is offline   Reply With Quote
Old 18-08-2015, 07:46 PM   #5
SpeakForYou
Guest
 
Posts: n/a
Utopia thanks for the advice. I'm actually not new at all, well new to Ducatis. I've had bikes for about 4 yrs now and I also hold an IMI level 1 and level 2 diploma in motorcycle maintenence.

Anyway back to the Monster, fixed my dipped/full beam button. Took the left switchgear off today and took out the button/ box thing. Stripped it down and cleaned it. Inside the wee white box where the button is was 2 little copper bits with a spring underneath each one but one was stuck down so pushed it back up, put it all back together and hey presto dipped light is back.

Brake light switch is ordered and will be in on Thurs so hopefully that'll sort it out.
  Reply With Quote
Old 22-02-2016, 11:27 PM   #6
SpeakForYou
Guest
 
Posts: n/a
So, it's been a while since I last updated. Not much has been happening other than me picking up for 2nd hand Termis and coming off at a roundabout. Got off lightly other than a scraped exhaust rivet band, lever, bar end and front fork. Not too bad. Anyway, my pal has let me work on the Monster in his shop. Following his guidance it was time to get dirty and get that engine out.

Fuel tank removed. Exhausts took a bit to get off. One side was welded in one spot to keep it on and the bolts were rusted but after some persuasion they came off.


Tank and Termis


Airbox/battery tray removed and rearsets removed


Finally engine is out, what a lump of an engine!


Engine on bench, time to sort the oil leaks


  Reply With Quote
Old 22-02-2016, 11:38 PM   #7
SpeakForYou
Guest
 
Posts: n/a
Time to get the belts off


Head off


Inspected piston and piston rings


Better look at the oil


So replaced the base gasket and o rings are put the head back on. Next up was to sort the next leak which I think came from here so replaced the gasket.


New belts fitted (no pics I'm afraid), a lot easier than I thought it would have been.

Now onto the valve clearances, exhaust valve don't have much clearance so need to replace the shims. Swingarm is in my garage, got it sanded down tonight and got the primer on it. Hopefully I've get it painted tomorrow. Engine needs to be de-painted and hopefully will get that painted this week.
  Reply With Quote
Old 24-02-2016, 06:45 PM   #8
Andy B
Registered User
 
Andy B's Avatar
 
Join Date: Sep 2014
Location: Bromborough
Bike: M900
Posts: 94
nice job no the engine... wanted to do the same with mine, but was impatient and wanted to get her finished so left the heads on....

Hope you'll be giving it a lick of paint whilst its out...

re: valve clearances, not sure on the 600's, but i'd assume it would be similar to the 9's - having just done my clearances, the exhaust valves factory spec are between 0 and 0.05mm so yours may be ok...? double check factory spec though, but speaking from experience with the 900, so long as you can spin the cam with no binding when the opening arm is off to the side, you should be fine.

oh and if you do end up replacing shims - hide the swear jar
Andy B is offline   Reply With Quote
Old 25-02-2016, 11:10 PM   #9
SpeakForYou
Guest
 
Posts: n/a
There was a little bit of binding on them. We swapped the horizontal exhaust shim into the vertical cylinder so that gave us some clearance. Had to order another shim for the horizontal one but the one I got doesn't fit and it's tighter. Going to remeasure it tomorrow and go from there. I'm actually enjoying this but yeah the shims are a pain!!

Engine is nearly ready to paint, wont be a fantastic job but at least there is no bubbling paint. Swingarm has been painted and looks not too bad. Again not great but will do until later when I get it powder coated.
  Reply With Quote
Old 07-03-2016, 10:01 PM   #10
SpeakForYou
Guest
 
Posts: n/a
So much to update on the bike.

Got my first shot off the wire wheel on the angle grinder and used it on the engine to remove the paint


Time to paint


Actually looked pretty good! Time to lift it with the hoist and get the bottom done


Decide it looked too silver so off came the valve covers, cam covers, belt covers and sprocket cover


Finished engine, came out better than I thought it would have


  Reply With Quote
Old 07-03-2016, 10:11 PM   #11
Albie
Fanactical volunteer
 
Albie's Avatar
 
Join Date: Oct 2003
Location: Kent
Bike: M900
Posts: 9,033
Good job fella. Had to agree TOO silver for sure. Mines getting painted soon once it warms up as no room in the garage to do with stuff too close. Garden and mini plastic greenhouse.
Albie is offline   Reply With Quote
Old 07-03-2016, 10:16 PM   #12
SpeakForYou
Guest
 
Posts: n/a
Cleaned up the shock and bolted it all up to the freshly painted swingarm


So now the rebuild begins


First things first, engine in


Swingarm attached


Wheel on


Not got any pics of the airbox and tank getting fitted but...

.... TA DAH


Quite pleased with how it turned out. Just need to fit the new bar ends and clutch slave cylinder now and get the fork seals done.

MOT tomorrow so hopefully it'll pass.
  Reply With Quote
Old 10-03-2016, 06:30 PM   #13
italianjob
Guest
 
Posts: n/a
Like what you've done with this. The engine has come up real nice. You wait till you see my "turd"......
  Reply With Quote
Old 10-03-2016, 11:40 PM   #14
SpeakForYou
Guest
 
Posts: n/a
Sometimes it's better that way. I think you appreciate it more if you have to spend the time fixing it up.
  Reply With Quote
Old 11-03-2016, 06:29 AM   #15
Nottsbiker
Guest
 
Posts: n/a
Looks good mate well done
  Reply With Quote
Reply


Posting Rules
You may not post new threads
You may not post replies
You may not post attachments
You may not edit your posts

BB code is On
Smilies are On
[IMG] code is On
HTML code is Off

Forum Jump


All times are GMT. The time now is 09:12 AM.

vBulletin Skins by vBmode.com. Powered by vBulletin® Version 3.8.3
Copyright ©2000 - 2024, Jelsoft Enterprises Ltd.