UK Monster Owners Club Forum » Gallery » UKMOC Bikes » Back with a M900 series I

Reply
 
Thread Tools Rating: Thread Rating: 8 votes, 5.00 average. Display Modes
Old 27-06-2015, 09:29 PM   #1
Albie
Fanactical volunteer
 
Albie's Avatar
 
Join Date: Oct 2003
Location: Kent
Bike: M900
Posts: 9,033
Quote:
Originally Posted by Kato View Post
looking nice can I have them back now..................

Oh and tossii didn't win he cheated and cut the corner just after trying to knock Marc off
You are welcome to having the Knight Racing orange paint back.

Moto 3 race was cracking as per usual.

Thanks again mate and get that bike finished and make a Date for Belgium in 2016
Albie is offline   Reply With Quote
Old 28-06-2015, 12:25 PM   #2
Mr Gazza
Lord of the Rings
 
Mr Gazza's Avatar
 
Join Date: May 2013
Location: Norwich
Bike: M900sie
Posts: 5,831
BMW "Solid Gold" matches the brembo carriers.....Wait a minute I'll get you some numbers for that..
__________________
Mr Gazza is offline   Reply With Quote
Old 28-06-2015, 02:12 PM   #3
Albie
Fanactical volunteer
 
Albie's Avatar
 
Join Date: Oct 2003
Location: Kent
Bike: M900
Posts: 9,033
Thanks. I will try and put some notes together in the hope that if any one needs info in the future can read what we think is good colour guide.
Albie is offline   Reply With Quote
Old 28-06-2015, 03:32 PM   #4
Mr Gazza
Lord of the Rings
 
Mr Gazza's Avatar
 
Join Date: May 2013
Location: Norwich
Bike: M900sie
Posts: 5,831
I have the number 859 for the BMW Solid Gold..

Not sure if that is a BS or what, definatly not a RAL, but if you go to an automotive paint establishment and ask for BMW Solid Gold 859, they will be able to cross reference if neccesary and mix the right stuff.

As you probably know, most of the paint suppliers can mix it and put it in an aerosol for around the twelve quid mark, depending on the mix....reckon an aerosol should just about do a couple of carriers....Good luck with the masking..
__________________
Mr Gazza is offline   Reply With Quote
Old 28-06-2015, 05:51 PM   #5
Albie
Fanactical volunteer
 
Albie's Avatar
 
Join Date: Oct 2003
Location: Kent
Bike: M900
Posts: 9,033
Quote:
Originally Posted by Mr Gazza View Post
I have the number 859 for the BMW Solid Gold..

Not sure if that is a BS or what, definatly not a RAL, but if you go to an automotive paint establishment and ask for BMW Solid Gold 859, they will be able to cross reference if neccesary and mix the right stuff.

As you probably know, most of the paint suppliers can mix it and put it in an aerosol for around the twelve quid mark, depending on the mix....reckon an aerosol should just about do a couple of carriers....Good luck with the masking..
I have a job ahead then. Thanks.
Albie is offline   Reply With Quote
Old 28-06-2015, 08:32 PM   #6
DrD
Guest
 
Posts: n/a
Quote:
Originally Posted by Albie View Post
I have a job ahead then. Thanks.
Might be obvious but I would really go to town on cleaning the bobbins before you paint
  Reply With Quote
Old 28-06-2015, 08:37 PM   #7
Albie
Fanactical volunteer
 
Albie's Avatar
 
Join Date: Oct 2003
Location: Kent
Bike: M900
Posts: 9,033
Quote:
Originally Posted by DrD View Post
Might be obvious but I would really go to town on cleaning the bobbins before you paint
I have started to already. They need no cr4p under them.
Albie is offline   Reply With Quote
Old 28-06-2015, 05:35 PM   #8
Darkness
.
 
Darkness's Avatar
 
Join Date: May 2007
Location: Stockbridge
Bike: M900
Posts: 1,984
Hi Albie.
Made it into the garage with a tape measure this afternoon:
The 'Ducati' decal at the back of the seat cowl is 100mm wide.
The cowl is all curves, but the bottom edge of the decal is 30mm up from the rear edge of the cowl, measured centrally using a steel tape with the end of the tape hooked over the edge of the cowl.
This is the original cowl on my '94 m900 with '93 date stamp moulded into the underside and what I believe to be original paint as it still has the supplying dealer's 'Murayama' decals too.


__________________
Original and Best since 1993
Darkness is offline   Reply With Quote
Old 28-06-2015, 05:53 PM   #9
Albie
Fanactical volunteer
 
Albie's Avatar
 
Join Date: Oct 2003
Location: Kent
Bike: M900
Posts: 9,033
Quote:
Originally Posted by Darkness View Post
Hi Albie.
Made it into the garage with a tape measure this afternoon:
The 'Ducati' decal at the back of the seat cowl is 100mm wide.
The cowl is all curves, but the bottom edge of the decal is 30mm up from the rear edge of the cowl, measured centrally using a steel tape with the end of the tape hooked over the edge of the cowl.
This is the original cowl on my '94 m900 with '93 date stamp moulded into the underside and what I believe to be original paint as it still has the supplying dealer's 'Murayama' decals too.


Yes I reckoned on 100mm so that's what I ordered last week. I estimated around 25mm so 30mm clarifys it.
thanks for details.
Albie is offline   Reply With Quote
Old 07-07-2015, 09:29 PM   #10
Pedro
Ciao, come stai?
 
Pedro's Avatar
 
Join Date: Apr 2003
Location: Somewhere
Bike: Multiple Monsters
Posts: 4,157
Looks like your harness has just been repaired perhaps fried or just damaged. That is the starter relay
__________________
M900 - 1993!
Monster 1200R!
Pedro is offline   Reply With Quote
Old 08-07-2015, 06:30 AM   #11
Albie
Fanactical volunteer
 
Albie's Avatar
 
Join Date: Oct 2003
Location: Kent
Bike: M900
Posts: 9,033
Quote:
Originally Posted by Pedro View Post
Looks like your harness has just been repaired perhaps fried or just damaged. That is the starter relay
Yes I thought it had been replaced that relay. I will just get a 2 pin connection and solder a pair of cables and tidy it up.
Albie is offline   Reply With Quote
Old 08-07-2015, 09:38 PM   #12
Albie
Fanactical volunteer
 
Albie's Avatar
 
Join Date: Oct 2003
Location: Kent
Bike: M900
Posts: 9,033
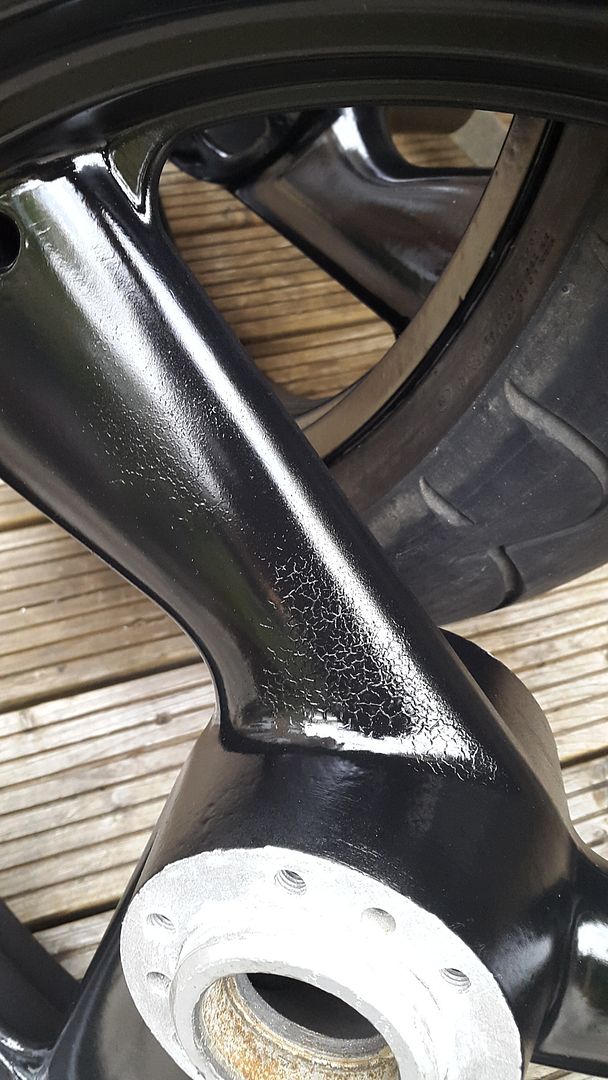
Disaster struck the paint. The same manufacturer of paint in gloss reacted with crazing in a few places. Not given up them and will strip and powder coat.
Albie is offline   Reply With Quote
Old 09-07-2015, 07:21 PM   #13
Albie
Fanactical volunteer
 
Albie's Avatar
 
Join Date: Oct 2003
Location: Kent
Bike: M900
Posts: 9,033
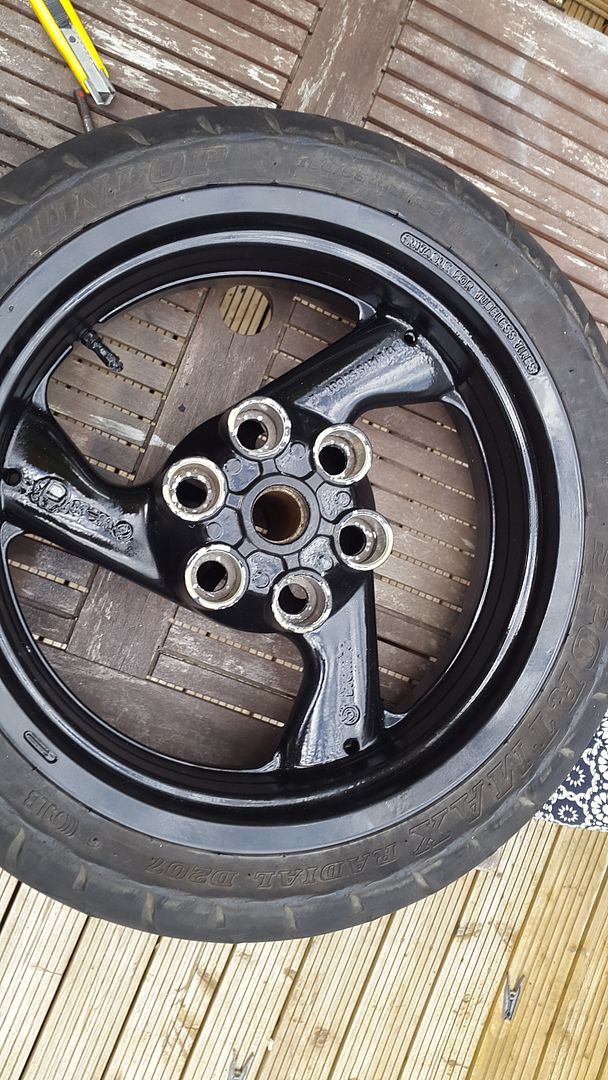
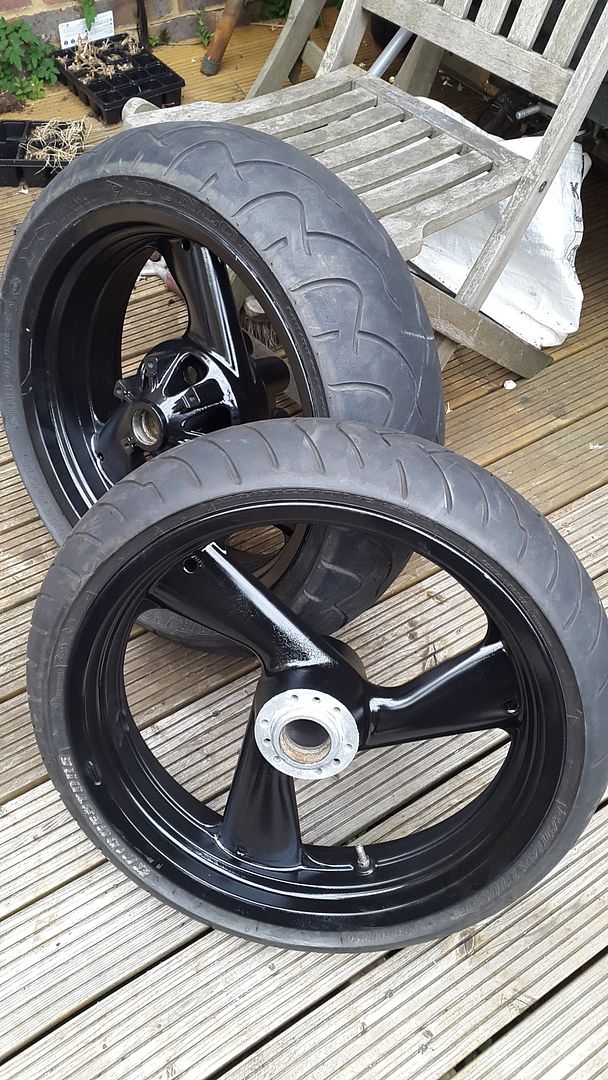
Thought about stuff all day and last night was looking into removing cush drives. I got home with an open mind to continue the black paint, I rubbed down the crazing and actually the rear wheel turned out not so bad in the end but I could have improved it better and that's where the could have stays as the front I did the same and then painted the back. The cast spoke bodys crazed up and that was enough for me to say lets get stopped and do these properly.
Ok so bearings removed front and rear. One of the fronts is smooth as new and one was like a ratchet. Bothe rears although they were rusty in the bores were smooth but will be replacing all 4.
I will also get the spacers replated as they are now out.
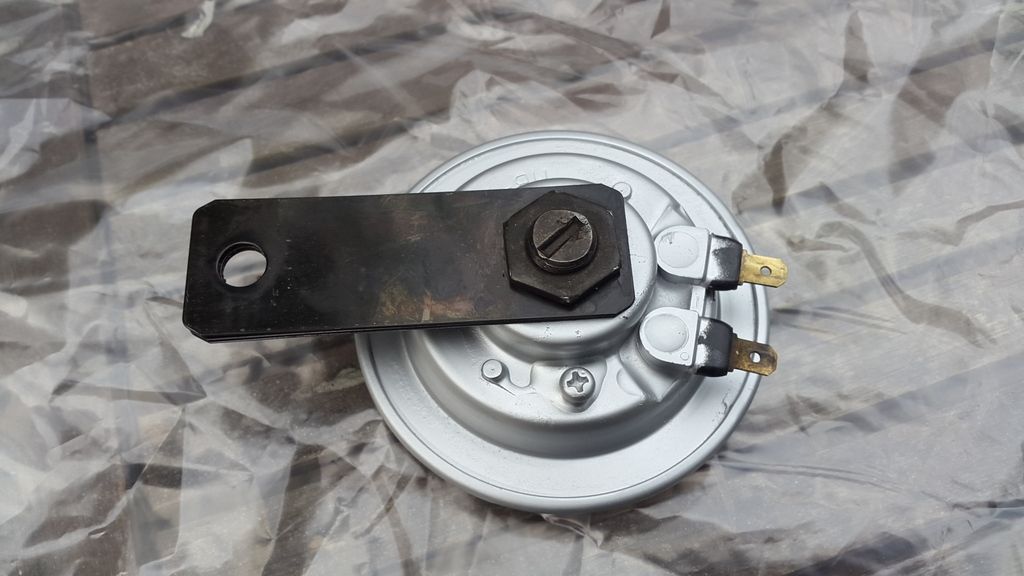
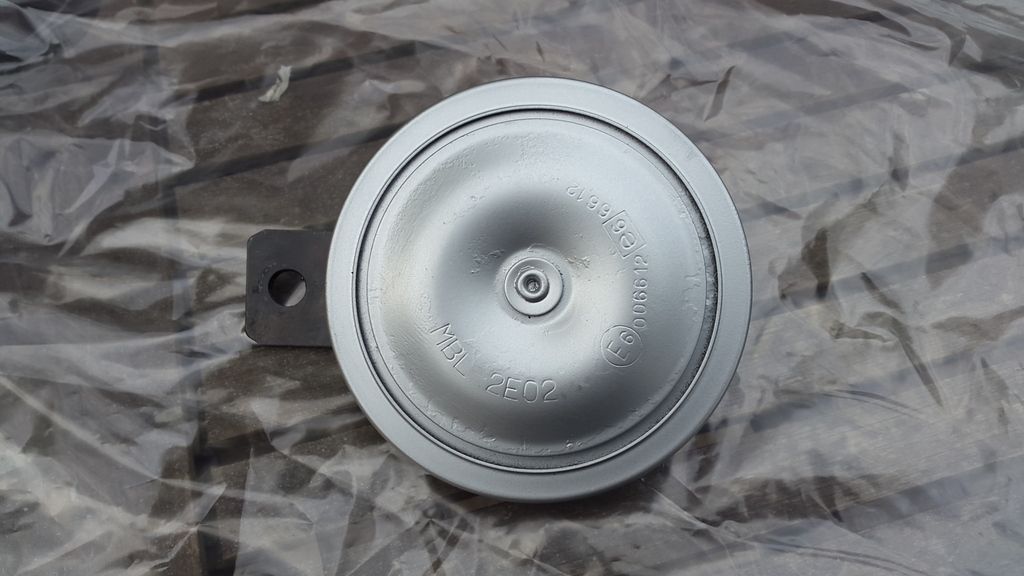
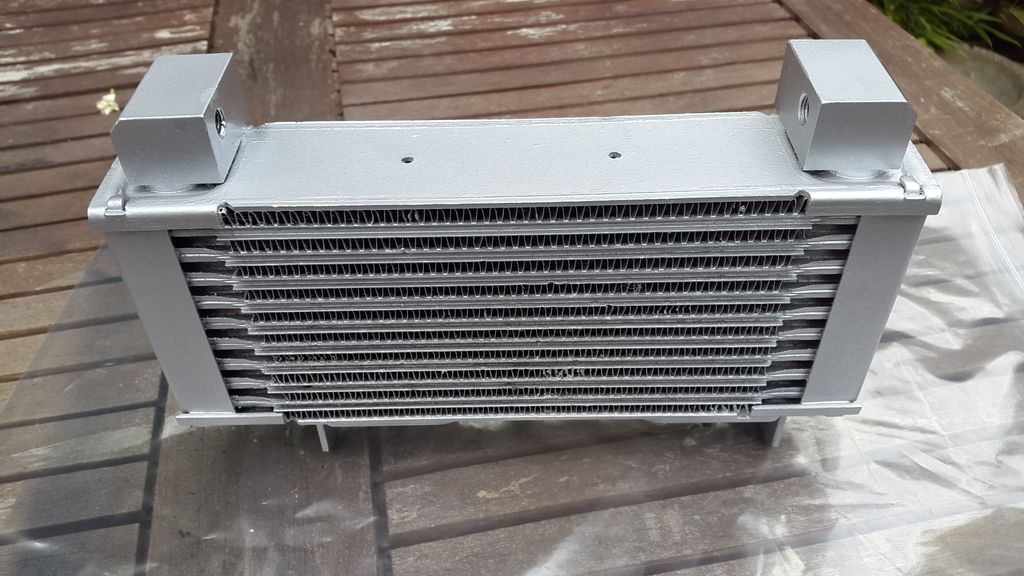
Finished the oil cooler in a nicer silver and looks very good now and also rubbed down the black horn and is now painted silver too.

I said earlier I was studying the search forum for removal and also spoke to Scrapps today for advice as he changed some last year or so ago.
It worked to a degree as removed the centre and the outers would not come out at all. Nothing left for me to do than try drilling the rubbers out and had a go at trying to get behind the outer so it would bend in and possibly come out. So far no joy and given up for tonight.

I think its dremel time to thin the inside wall down to almost collapse and then they can go off for powdercoat and if the costs ok will do also the rear hoop as paint is not as robust.

So now costings are going up with a pair of tyres and powdercoat and bearings and cush drives.
Theres £300 in one hit.

Needed.
Tyres x 2
Wheel bearings x 4
Steering bearings x 2
Cush drives x 6
Throttle cables x 2 push and pull
Brake pads front and rear
Braided black complete full lines and clutch
Clutch plates
Frame painting and seat cowl
Wheels and suspension hoop and levers powdercoated
All plating of parts
Parts to be shotblasted and naturalised foot pegs and hangers and fork yokes and brake hanger .

Last edited by Albie; 09-07-2015 at 07:28 PM..
Albie is offline   Reply With Quote
Old 09-07-2015, 08:07 PM   #14
Dirty
Bockloks
 
Dirty's Avatar
 
Join Date: Jan 2012
Location: London
Bike: No Bike Yet!
Posts: 4,601
Quote:
Originally Posted by Albie View Post

I said earlier I was studying the search forum for removal and also spoke to Scrapps today for advice as he changed some last year or so ago.
It worked to a degree as removed the centre and the outers would not come out at all. Nothing left for me to do than try drilling the rubbers out and had a go at trying to get behind the outer so it would bend in and possibly come out. So far no joy and given up for tonight.

I think its dremel time to thin the inside wall down to almost collapse and then they can go off for powdercoat and if the costs ok will do also the rear hoop as paint is not as robust.
https://youtu.be/1PZd0G28ruA
__________________
Wounds heal, chicks dig scars, glory lasts forever


Dirty is offline   Reply With Quote
Old 10-07-2015, 08:15 PM   #15
Albie
Fanactical volunteer
 
Albie's Avatar
 
Join Date: Oct 2003
Location: Kent
Bike: M900
Posts: 9,033
Nightmare over

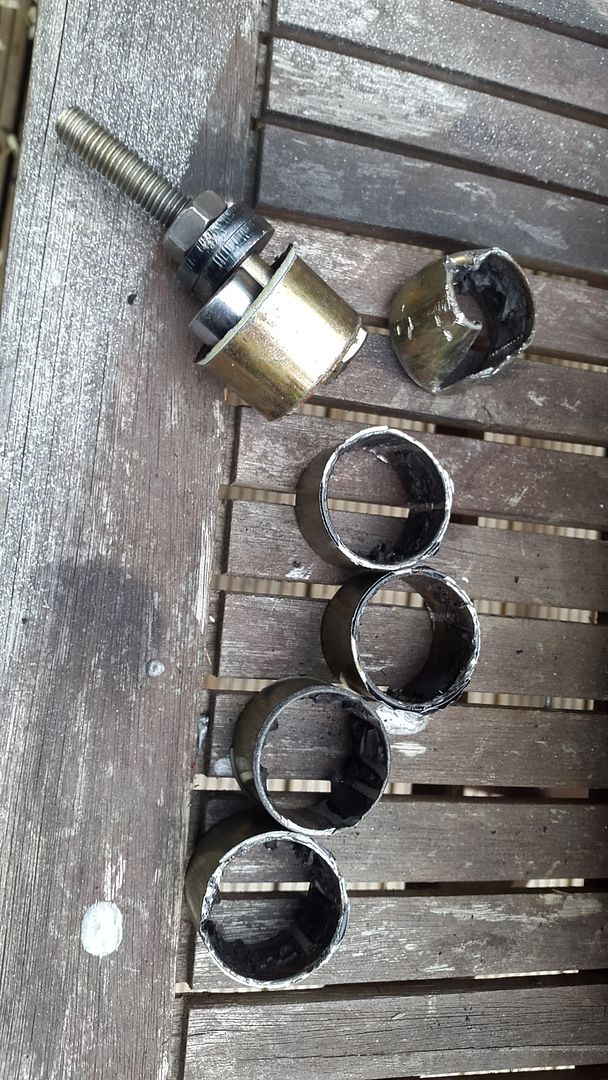
After the epic FAIL in even getting 1 cush drive out yesterday and drilling the centres out after giving up. I cleared the rubber out as good as possible and tried the dremel attack but wasn't getting very far and ended up pushing one further down.
Got my engineering head on and watched a video and couldn't quite see how he was getting them out but I realised that there is a gap about 8mm at the bottom. If I could somehow get something to expand under and slidehammer it would be easy. I did think about making a tool but that's madness when you want them out now but if the idea helps others I am happy.
I got a long M10 bolt so the head would sit under the bottom of the cush drive. 2 side by side would fit so I needed something to pack the difference and used a socket and then retained it with a couple of strong washers and a nut. With that holding firm I could then attack from the rear through the disc brake side and had a nice surface area to tap through. A few sharp drifts and they all came out and they annoyingly were clean as a whistle but I had to finish the first one with a hacksaw and gradually lever it out. Some minor damage will clean up ok but finally they can be get given to specialists to apply a good finish.


Horn is done in silver now and not black and oil coolers looks decent too.


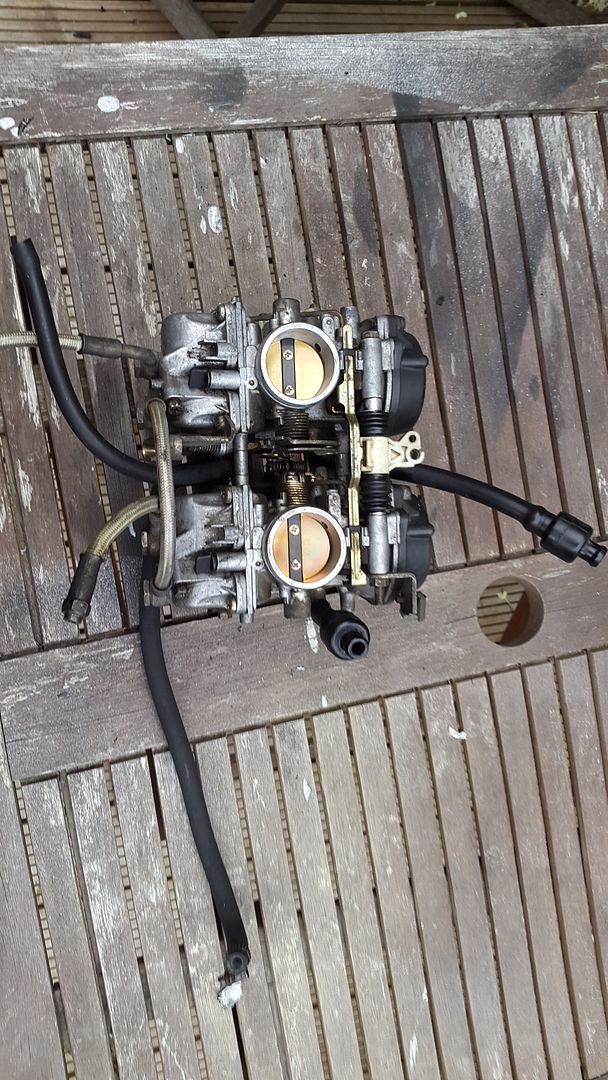
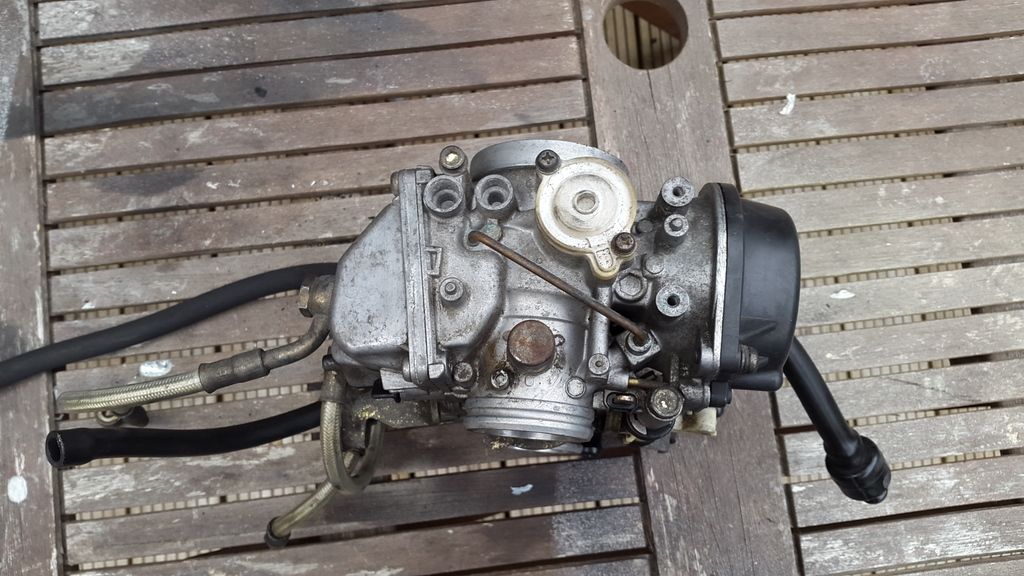
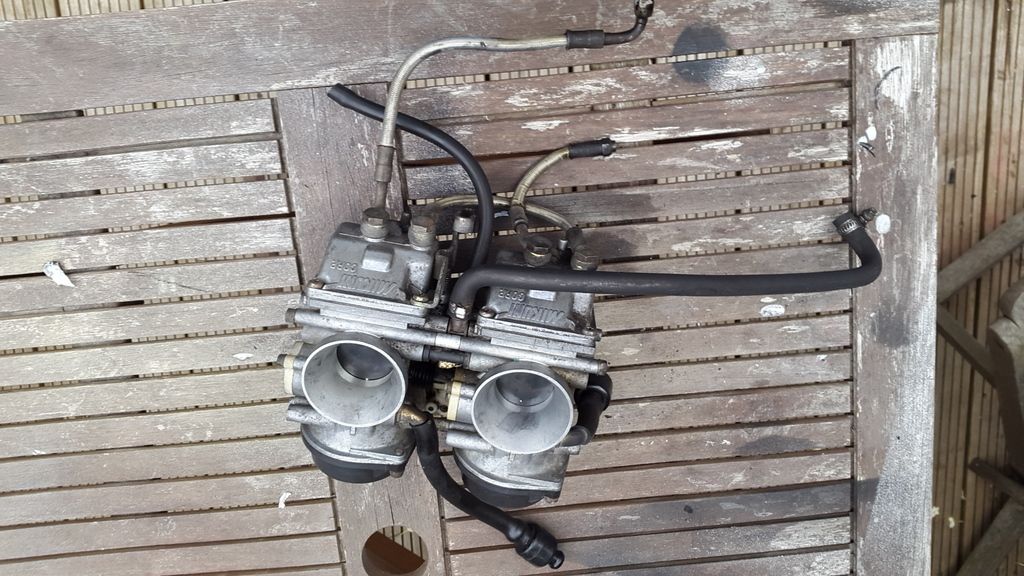
I have the task of cleaning the carbs up now as best I can without stripping down any further.


Albie is offline   Reply With Quote
Reply


Posting Rules
You may not post new threads
You may not post replies
You may not post attachments
You may not edit your posts

BB code is On
Smilies are On
[IMG] code is On
HTML code is Off

Forum Jump


All times are GMT. The time now is 08:31 AM.

vBulletin Skins by vBmode.com. Powered by vBulletin® Version 3.8.3
Copyright ©2000 - 2024, Jelsoft Enterprises Ltd.