UK Monster Owners Club Forum » Gallery » UKMOC Bikes » Back with a M900 series I

Reply
 
Thread Tools Rating: Thread Rating: 8 votes, 5.00 average. Display Modes
Old 02-11-2015, 08:01 PM   #1
Albie
Fanactical volunteer
 
Albie's Avatar
 
Join Date: Oct 2003
Location: Kent
Bike: M900
Posts: 9,033
In for a penny in for a pound or a few more.

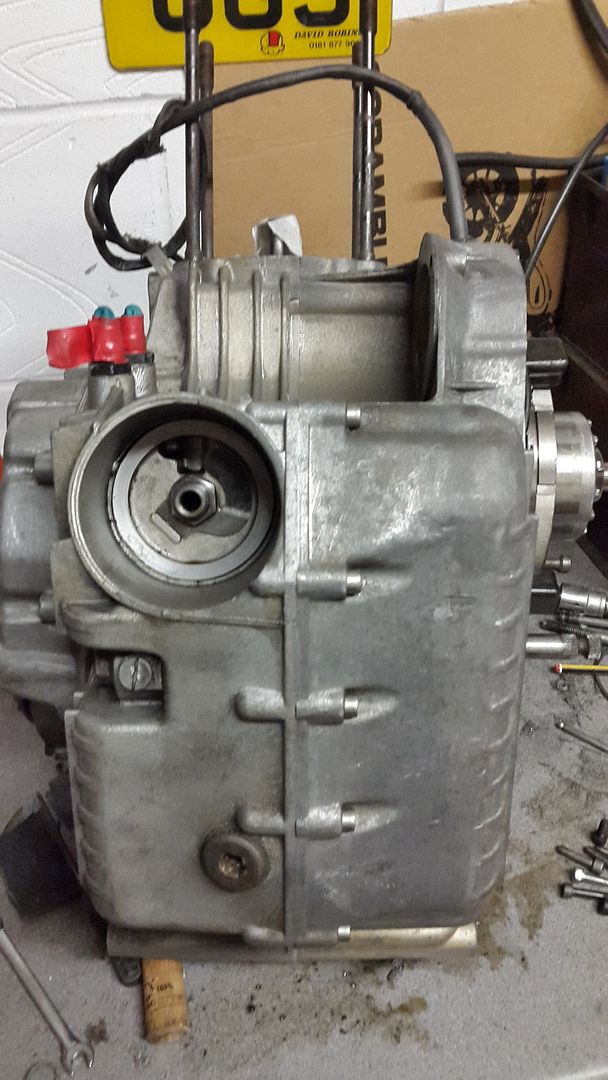
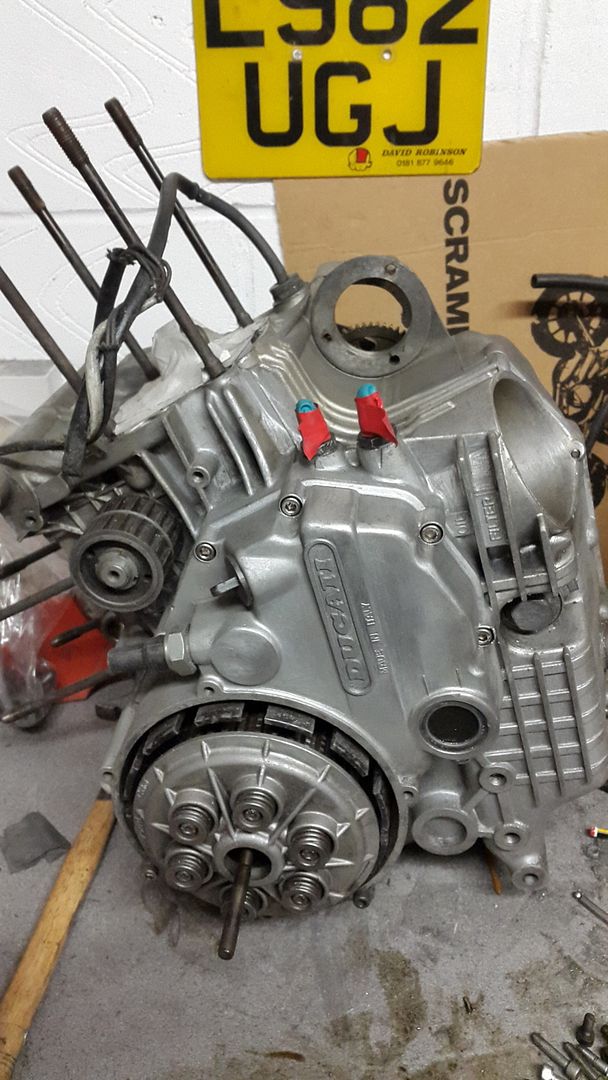
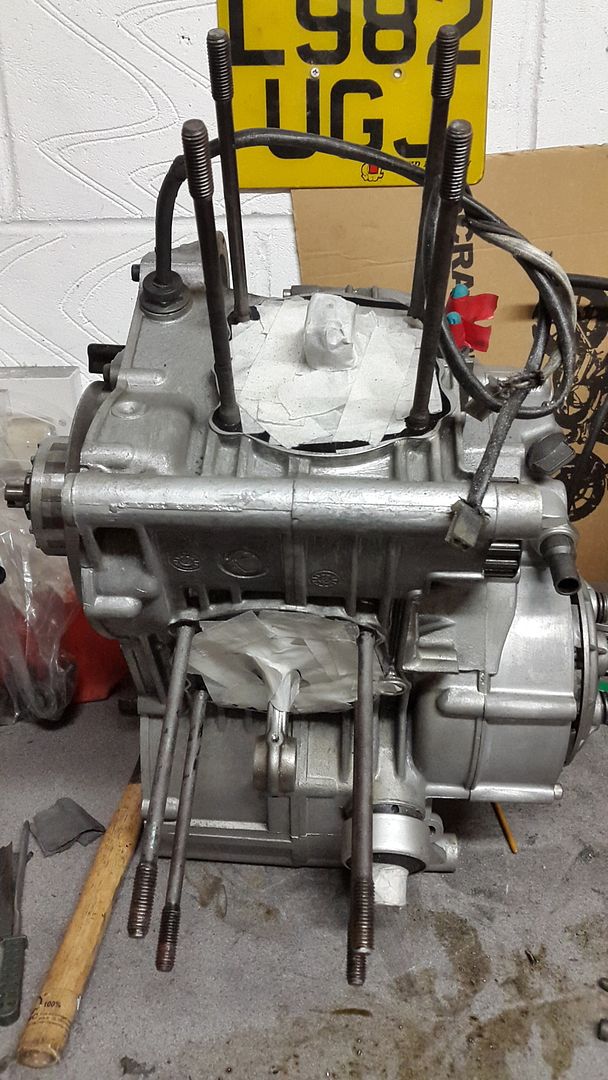
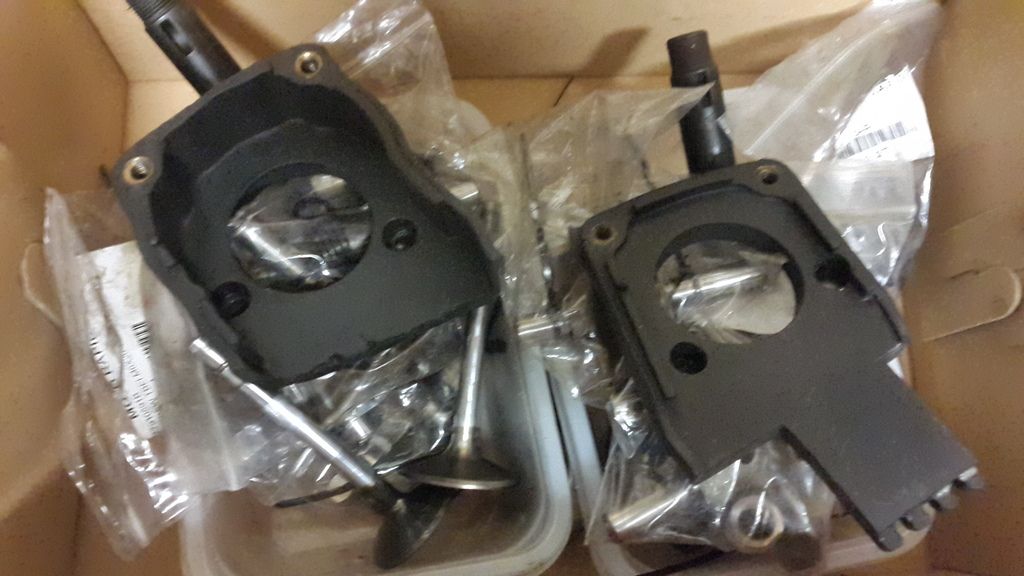
You only get out what you put in the saying goes so I decided I am going all in with stripping it down a bit more to get able to clean heads and barrels up. Wasn't really planning as I was a bit scared tbh . Granted I have had engines apart but never a Ducati but by choice.
So with the cost of a top end rebuild kit being £27 from Moto Rapido its no biggy and just need to get the barrels off. Need a good read of the manual for the rest and presume to get heads blasted I need to take off all the cams and followers and belt pulleys.

Gives me time to get all the nuts and washers plated on these heads too.


The piston surface looks like its running a bit rich do you think and the valves too.

Any advice gladly received.

Albie is offline   Reply With Quote
Old 03-11-2015, 08:17 AM   #2
slob
.
 
slob's Avatar
 
Join Date: Jul 2003
Location: East London
Bike: Multiple Monsters
Posts: 9,713
Quote:
Originally Posted by Albie
presume to get heads blasted I need to take off all the cams and followers and belt pulleys.
Remove everything, I'd be using bolts/washers and some old inner tube or similar as gaskets to seal up the valve guides. Dave will be able to advise you.
slob is offline   Reply With Quote
Old 03-11-2015, 08:13 AM   #3
slob
.
 
slob's Avatar
 
Join Date: Jul 2003
Location: East London
Bike: Multiple Monsters
Posts: 9,713
That looks pretty good for a twenty-something year old bike.
slob is offline   Reply With Quote
Old 03-11-2015, 09:30 AM   #4
Dukedesmo
Registered User
 
Dukedesmo's Avatar
 
Join Date: Sep 2010
Location: Leics
Bike: M900
Posts: 2,844
I blasted all the engine casings/cylinders/heads on mine. Remove everything that you can and seal all the holes well to keep the blast media out, I used various 'bungs' (earplugs are good for oilways etc.) and loads of tape. The important thing is to make sure you get all the grit out afterwards.

High pressure airline, washtank, fairy liquid scrub (in the kitchen sink) and the dishwasher are all good - but only use the dishwasher on parts you are painting or polishing as it greys alloy...
__________________
M900, 916, LeMans II.

Dukedesmo is offline   Reply With Quote
Old 03-11-2015, 09:32 AM   #5
Dukedesmo
Registered User
 
Dukedesmo's Avatar
 
Join Date: Sep 2010
Location: Leics
Bike: M900
Posts: 2,844
Also, I recommend the use of rotary wire brushes (brass are softer than steel) in a dremel for cleaning up combustion chambers & ports followed by the fairy liquid again.
__________________
M900, 916, LeMans II.

Dukedesmo is offline   Reply With Quote
Old 03-11-2015, 07:52 PM   #6
Albie
Fanactical volunteer
 
Albie's Avatar
 
Join Date: Oct 2003
Location: Kent
Bike: M900
Posts: 9,033
Ok so were getting there. But ....!


Lucky I did take the pistons off as we have a broken lower piston ring on the horizontal. Now I don't believe I broke it because nothing hard about the removing so we may have had a fracture. It fell apart on lifting up the barrel.


Anyhow do I now replace both sets of rings in case.

I now have a lighter block at least to make better.


Bit of a mish mash engine. Casings 95. Heads 93. Barrels 92.


If anyone has one of these spare let me know.


Parts to also be vapour blasted


My job tomorrow is take all this lot down to Al at Proteam and beg him to remove the cam pulley and remove the belt roller too along with the cams and followers so I can get them to Dave at TSR . Going to give him the carb inlets to see if come out better.

Worst case scenario is a light hone on the barrels too as there is a light mark maybe where that ring was breaking up but not scored.

So more stuff needed but very glad I never just left it as was.
Albie is offline   Reply With Quote
Old 03-11-2015, 09:53 PM   #7
DrD
Guest
 
Posts: n/a
Surprising what you find about to go wring when you start taking things apart!
I could mention a river or red water and oil and needle rollers from a certain Le mans when I took the swing arm off on Monday night!
  Reply With Quote
Old 04-11-2015, 07:23 PM   #8
Albie
Fanactical volunteer
 
Albie's Avatar
 
Join Date: Oct 2003
Location: Kent
Bike: M900
Posts: 9,033
Panic over on the piston rings. Al from Proteam gave me a 900 piston with rings. All is good. Heads being stripped apart by him and barrel all ready done now. Found a slighty iffy cambelt roller bearing so going to replace all 4 if anyone knows what size to order.
Albie is offline   Reply With Quote
Old 09-11-2015, 09:17 PM   #9
Albie
Fanactical volunteer
 
Albie's Avatar
 
Join Date: Oct 2003
Location: Kent
Bike: M900
Posts: 9,033
A tedious task is going well and slowly getting the cr4p off the motor. It has scars from work and as I said must have some history of damage but what I see is just bad finishing of spatter from weld.
Should get my heads back soon stripped of parts and then off this week to Dave. I am almost at the point of deciding the starter motor is coming off to also be cleaned etc and new brushes fitted as I cannot easily finish cases behind it.

Getting Image Works to refinish my faded paint on the oil level decal with either a replacement decal over the aluminium one or one I can use as a stencil to spray black only.

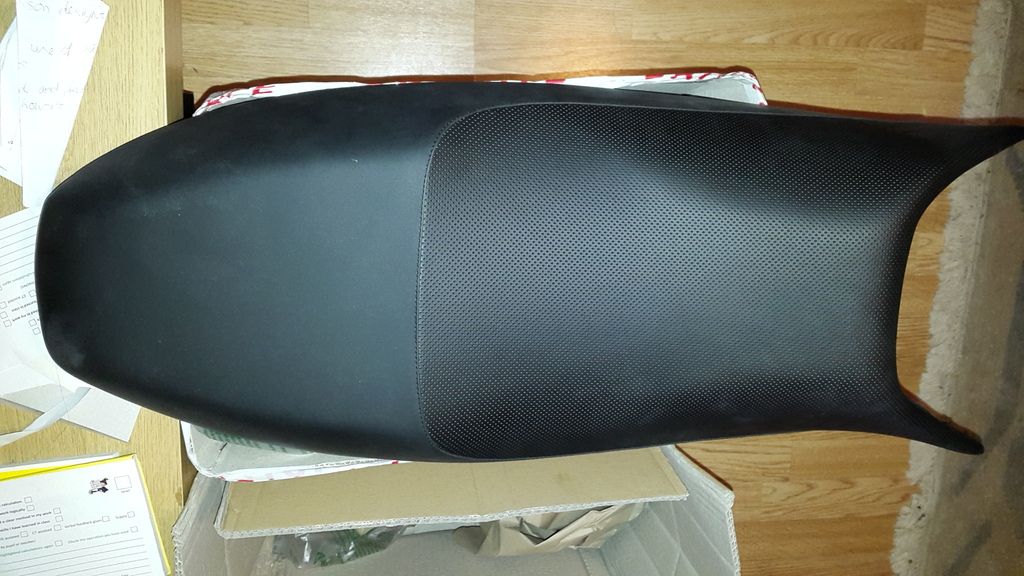
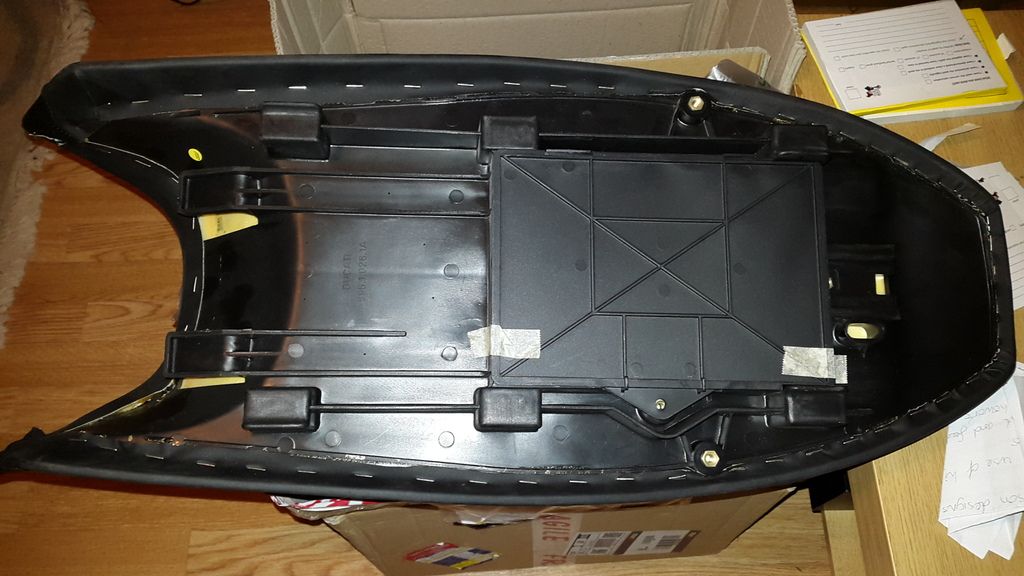
I never got that seat unit I was offering good money for with the mirrors even though I had basically committed as he never got back after saying he would so a brand new seat from Italy and just £75 is on its way as one of my Xmas pressies. Cant beat original new old stock.
Mine will be up for sale and its in decent condition or if not it will be restored with a pillion cut out comfort area but look like OEM for passenger use only.


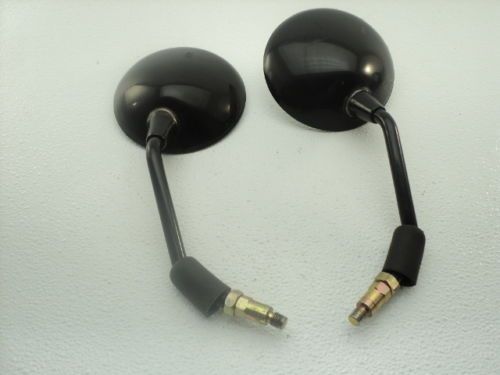
I also still want some real nice condition OEM mirrors so may well buy from Ducati now as that was another part I had an agreement of sale on.


Whilst browsing I also looked around for a Tool Pouch. Lots around and odds a sods in various states of condition at some extortionate rates of money.

Was happy to have one with just the Ducati logo on but then......................


The right year and the right LOGO for £13 plus post from the good old USA


Happy days. Going to need to add a few more tools but I have the original helmet cable from the bike and is superior to the modern ones.
Albie is offline   Reply With Quote
Old 11-11-2015, 12:34 PM   #10
Albie
Fanactical volunteer
 
Albie's Avatar
 
Join Date: Oct 2003
Location: Kent
Bike: M900
Posts: 9,033
So my heads are stripped but I have a damaged rocker I need now to replace as has a fracture. I guess another good thing found by being taken apart.
Albie is offline   Reply With Quote
Old 12-11-2015, 03:47 PM   #11
Albie
Fanactical volunteer
 
Albie's Avatar
 
Join Date: Oct 2003
Location: Kent
Bike: M900
Posts: 9,033
Well the 2 heads with covers , 2 barrels and inlet tubes are now with Dave @ TSR vapour blasting and will be back maybe a week or so.
So will just carry on with the main block but am nearly there. Plating is going off next week though for the final parts.
Albie is offline   Reply With Quote
Old 17-11-2015, 08:02 PM   #12
Albie
Fanactical volunteer
 
Albie's Avatar
 
Join Date: Oct 2003
Location: Kent
Bike: M900
Posts: 9,033
Seat arrived from Italy and really is a brand new old one. I will keep the other and repair neatly the small defects by unstapling it and bonding some weave on the back. I will try and scoop some from the pillion area but not much and then glue the cover down and restaple as a pillion only seat.


After giving up with the seller of the other seat and mirrors on here I have a very nice pair coming from USA again and very little corrosion on the olive green plating parts and work out at £20 each inc post.


Don't buy the ones on Ebay that show an image of what looks like OEM because they are NOT. Don't get me wrong they look ok as a mirror but not like the original and I gave them poor feedback for portraying the OEM image to sell.

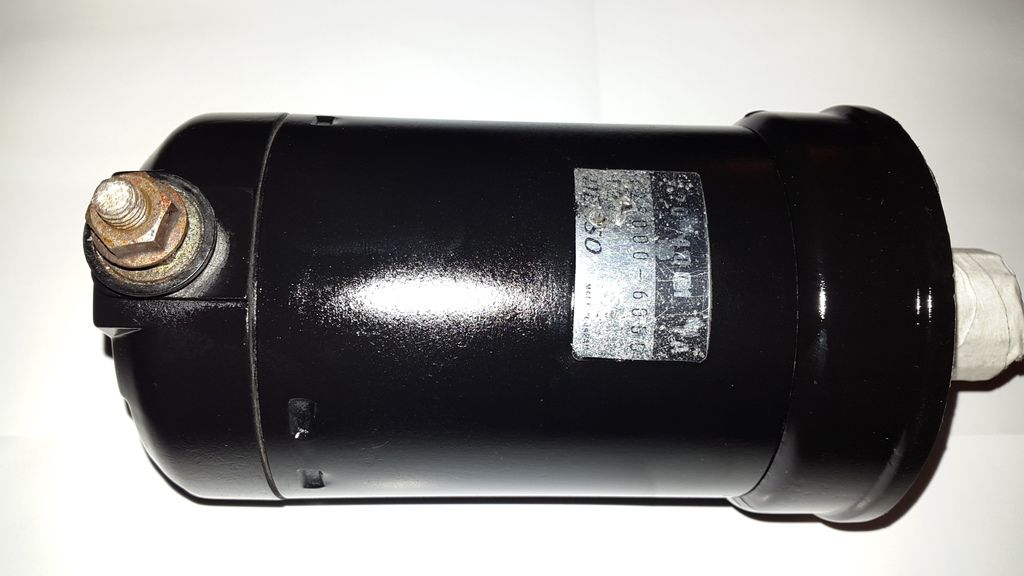
Starter motor is painted again keeping the original sticker by carefully masking. The top nut and lock nut will be replaced with a shiney plated ones. The 2 long bolts are on there way to platers along with lots more from the engine casings which have temporarily been replaced with stainless.


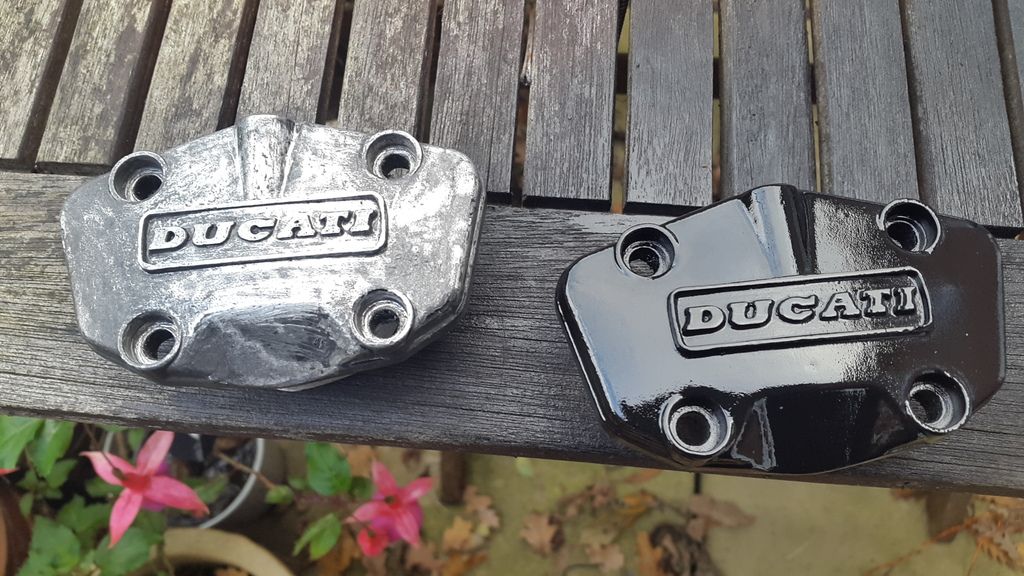
After much cleaning off the paint and think powdercoat from the camshaft end covers they are repainted black and look good now. Lettering all cleared out nicely.


Last edited by Albie; 17-11-2015 at 08:04 PM..
Albie is offline   Reply With Quote
Old 17-11-2015, 08:15 PM   #13
Albie
Fanactical volunteer
 
Albie's Avatar
 
Join Date: Oct 2003
Location: Kent
Bike: M900
Posts: 9,033
The casings are virtually there but this week I will finally finish the cleaning and rubbing down before I take it along to show Big Oz the dink and decide whether or not its possible to weld that possibly to make sure its good. At least now with the starter motor removed its clean behind it.


Platers will receive the last parts for coloured zinc including the correct front brake lines from USA sourced parts.


Cleaned up the valves of the carbon and once the heads are back will lap them back in myself before Alec rebuilds the heads and engine for me once painted. I also cleaned the belt cover ends of the silver paint overspray. Its a shame they have some cracks in the rubber but I am looking into seeing if some kind of black silicone rubber or bonding can be used to fill the cracks at least.

Albie is offline   Reply With Quote
Old 17-11-2015, 08:23 PM   #14
DrD
Guest
 
Posts: n/a
Quote:
Originally Posted by Albie View Post
I also cleaned the belt cover ends of the silver paint overspray. Its a shame they have some cracks in the rubber but I am looking into seeing if some kind of black
silicone rubber or bonding can be used to fill the cracks at least.
On the basis of my ongoing bodges in that area, epoxy aladite dont last, silicon rubber neither. Metal epoxy is currently lasting but is a dark grey not black rubber colour.
  Reply With Quote
Old 17-11-2015, 08:58 PM   #15
Albie
Fanactical volunteer
 
Albie's Avatar
 
Join Date: Oct 2003
Location: Kent
Bike: M900
Posts: 9,033
Quote:
Originally Posted by DrD View Post
On the basis of my ongoing bodges in that area, epoxy aladite dont last, silicon rubber neither. Metal epoxy is currently lasting but is a dark grey not black rubber colour.
Thanks for that. I wont be paying £50 for a new one. They are fine to use as is but will see what we can do. Maybe a soldering iron can weld together carefully. Rubber melts around 150 - 160 degrees but will try in a place not showing first.
Albie is offline   Reply With Quote
Reply


Posting Rules
You may not post new threads
You may not post replies
You may not post attachments
You may not edit your posts

BB code is On
Smilies are On
[IMG] code is On
HTML code is Off

Forum Jump


All times are GMT. The time now is 01:55 AM.

vBulletin Skins by vBmode.com. Powered by vBulletin® Version 3.8.3
Copyright ©2000 - 2024, Jelsoft Enterprises Ltd.