UK Monster Owners Club Forum » Gallery » UKMOC Bikes » Project M900Sie Refresh!

Reply
 
Thread Tools Rate Thread Display Modes
Old 23-02-2015, 03:59 PM   #31
Dirty
Bockloks
 
Dirty's Avatar
 
Join Date: Jan 2012
Location: London
Bike: No Bike Yet!
Posts: 4,601
Quote:
Originally Posted by JMH900sie View Post
One question, when I fit this do I need to use the spacer for the pushrod?

Joe
Depends one the age of your engine, I think the older ones need the spacer. You'll soon know when you fit it. It won't work without it if it needs it and it won't bolt up properly if you fit it and it doesn't need it
__________________
Wounds heal, chicks dig scars, glory lasts forever


Dirty is offline   Reply With Quote
Old 23-02-2015, 04:28 PM   #32
JMH900sie
Guest
 
Posts: n/a
It's a 2000ie engine. I'll just try it
  Reply With Quote
Old 23-02-2015, 04:29 PM   #33
Dirty
Bockloks
 
Dirty's Avatar
 
Join Date: Jan 2012
Location: London
Bike: No Bike Yet!
Posts: 4,601
Quote:
Originally Posted by JMH900sie View Post
It's a 2000ie engine. I'll just try it
I don't think you need it. I've got the details written down somewhere, I'll have a look.
__________________
Wounds heal, chicks dig scars, glory lasts forever


Last edited by Dirty; 23-02-2015 at 04:40 PM..
Dirty is offline   Reply With Quote
Old 23-02-2015, 04:39 PM   #34
Dirty
Bockloks
 
Dirty's Avatar
 
Join Date: Jan 2012
Location: London
Bike: No Bike Yet!
Posts: 4,601
Hmmm, I've written down 32mm+. I can't remember if that means if it's 32mm you need the spacer or if it's 32mm you don't! Not very helpful sorry
__________________
Wounds heal, chicks dig scars, glory lasts forever


Dirty is offline   Reply With Quote
Old 23-02-2015, 04:43 PM   #35
Mr Gazza
Lord of the Rings
 
Mr Gazza's Avatar
 
Join Date: May 2013
Location: Norwich
Bike: M900sie
Posts: 5,801
My 2000 M900Sie required the spacer to be fitted on my Oberon slave...Same would apply to the Factory Racing I would imagine.
Mr Gazza is offline   Reply With Quote
Old 23-02-2015, 04:50 PM   #36
JMH900sie
Guest
 
Posts: n/a
Thanks for the help guys! Still waiting on the hel lines to arrive .....
  Reply With Quote
Old 02-03-2015, 05:30 PM   #37
JMH900sie
Guest
 
Posts: n/a
Today's update!

My HEL clutch line has arrived, as has my k&n oil filter...... Just waiting on oil now! Friday, the engine side cases are coming off, being sand blasted, and being repainted over the weekend..... Ordered a new gasket for the clutch side cover, and the flywheel side just uses instant gasket.....

As for today, I decided my rearsets were looking far too shabby! Pulled the brake side one off, cleaned it up, and got it into primer:


Not fully decided that I'm repainting them silver or black yet, but I'm leaning to silver more.....

Also took a few pics in the sun!


That's all for now! I'll update as I get the rearsets finished.

Joe
  Reply With Quote
Old 02-03-2015, 05:56 PM   #38
Mr Gazza
Lord of the Rings
 
Mr Gazza's Avatar
 
Join Date: May 2013
Location: Norwich
Bike: M900sie
Posts: 5,801
Hey Joe.

she's pretty tidy to start with but you are doing a great job of improving her.

Beats me why they made the Sie so dowdy? I set about getting rid of as much grey as possible on mine. A few colour changes and a bit of polish gives it some sparkle and lets the light in.

Another job for you, is to get the exhaust pipes off and polish them up..

Mr Gazza is offline   Reply With Quote
Old 02-03-2015, 06:19 PM   #39
JMH900sie
Guest
 
Posts: n/a
I love the wheels on yours! Very nice indeed..... I do think I'm going for a dark and moody kinda look with mine though..... Black forks next!

Joe
  Reply With Quote
Old 09-03-2015, 12:42 PM   #40
JMH900sie
Guest
 
Posts: n/a
UPDATE (for anyone that cares!):

Fitted the factory racing clutch slave, and the HEL line on friday...... Anyone that rides around town a lot.... DO THE SAME MODIFICATION. Its made a world of difference to how the clutch feels. a billion times better! I also did an oil and filter change..... the bike now feels WAY smoother than it did before. Very very happy chappy.

I also dusted off my very limited photoshop skills to get an idea of how i want the bike to look..... and here it is!


Tank is bmw "fireblue"....... a bit different to ducati red, but I like it, and thats all that matters . Black forks, and well, pretty much black everything else!

Joe.
  Reply With Quote
Old 03-04-2015, 05:28 PM   #41
bluestoesonnose
Guest
 
Posts: n/a
Get the tank carbon wrapped or dipped, that would match everything else....
  Reply With Quote
Old 03-04-2015, 06:02 PM   #42
Darren69
Transmaniacon MOC
 
Darren69's Avatar
 
Join Date: Sep 2013
Location: Sutton In Ashfield
Bike: Multiple Monsters
Posts: 6,022
The Factory Racing clutch slave is a great bit of kit, makes the clutch so light. I have been advised that the standard 16mm master cylinder is struggling a bit to move enough fluid, so a switch to radial m/c is being considered at the moment.
__________________
Roast Beef Monster!

Termignoni and Bucci - Italian for pipe and slippers!

S4 Fogarty, S4R 07T, 748, Series 1 Mirage
Darren69 is offline   Reply With Quote
Old 03-04-2015, 09:07 PM   #43
JMH900sie
Guest
 
Posts: n/a
Quote:
Originally Posted by Darren69 View Post
The Factory Racing clutch slave is a great bit of kit, makes the clutch so light. I have been advised that the standard 16mm master cylinder is struggling a bit to move enough fluid, so a switch to radial m/c is being considered at the moment.
all i did was machine an extra 1.5mm spacer...... chucked it in the slave and its smooth as butter now. had some issues getting into neutral after the change! i have more updates. ill complile and update now.
  Reply With Quote
Old 03-04-2015, 09:29 PM   #44
JMH900sie
Guest
 
Posts: n/a
UPDATE TIME! ......

This week, ive been trying to button up a few major cosmetic issues i was having with the bike (part of the reason i got it so cheap.... but very annoying).....

first up, the exhausts. The bikes got an amazing pair of SILMOTO high level, 105DB beast cannons on it, which were faded, and pretty crappy looking. Removed the decals, and hit them with a UV resistant lacquer...... using 1200 grit wet and dry every few coats to get them smooth. Also used lots of metal polish on the stainless. Im very happy. Here are before and afters, with and without flash.......


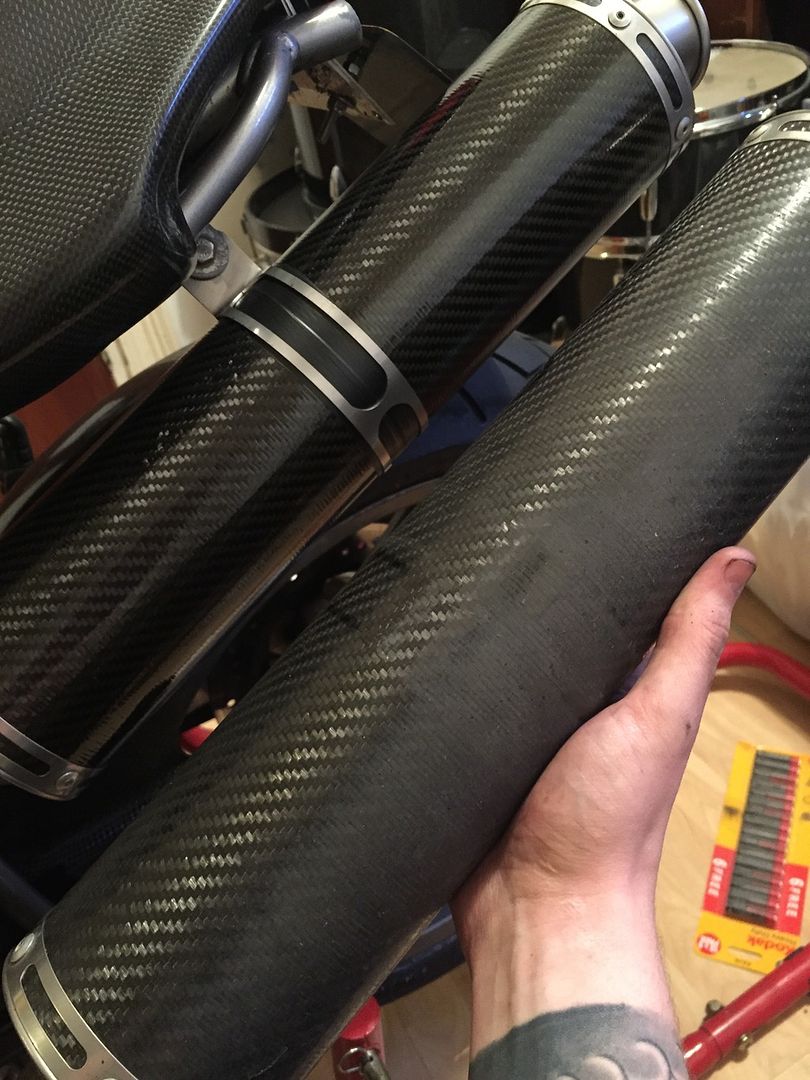
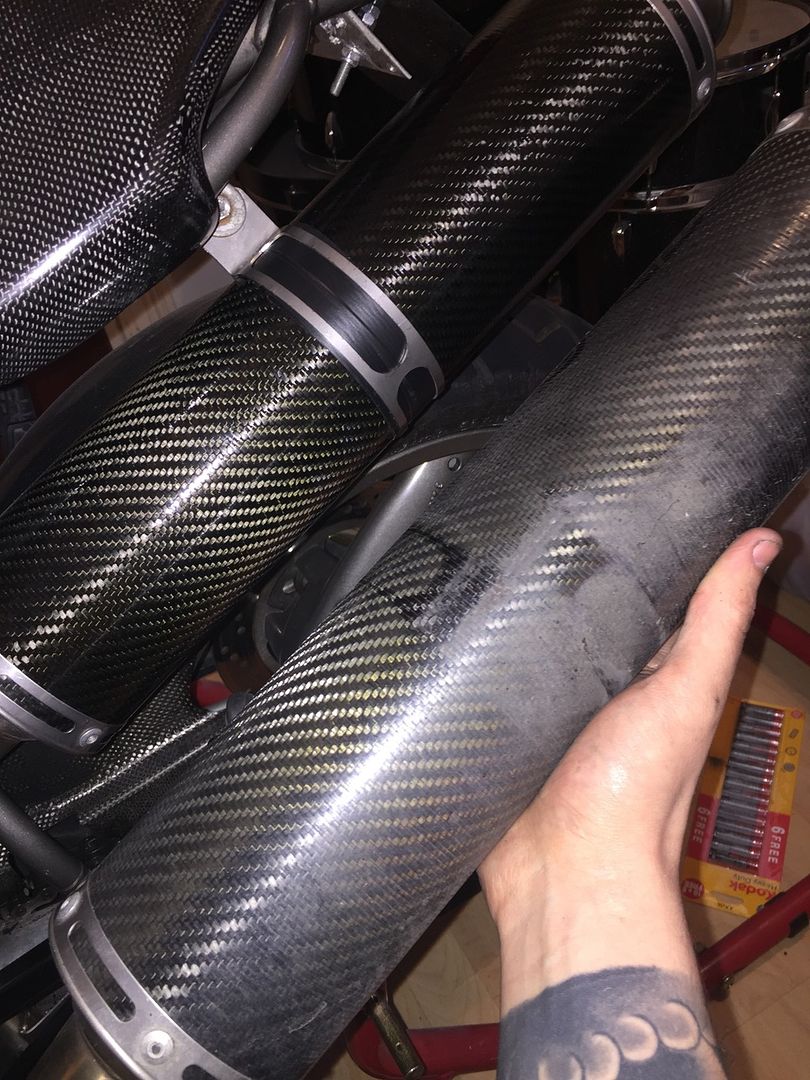
Not 100% flawless, but plenty good enough for me! VERY HAPPY CHAPPY.

next up were the rearsets..... the right hand one was badly discoloured, and they were both silver.... not fitting what i want from the bike. Out come the black paint. Lots and painting, sanding and swearing later, i have these.....


and then this!


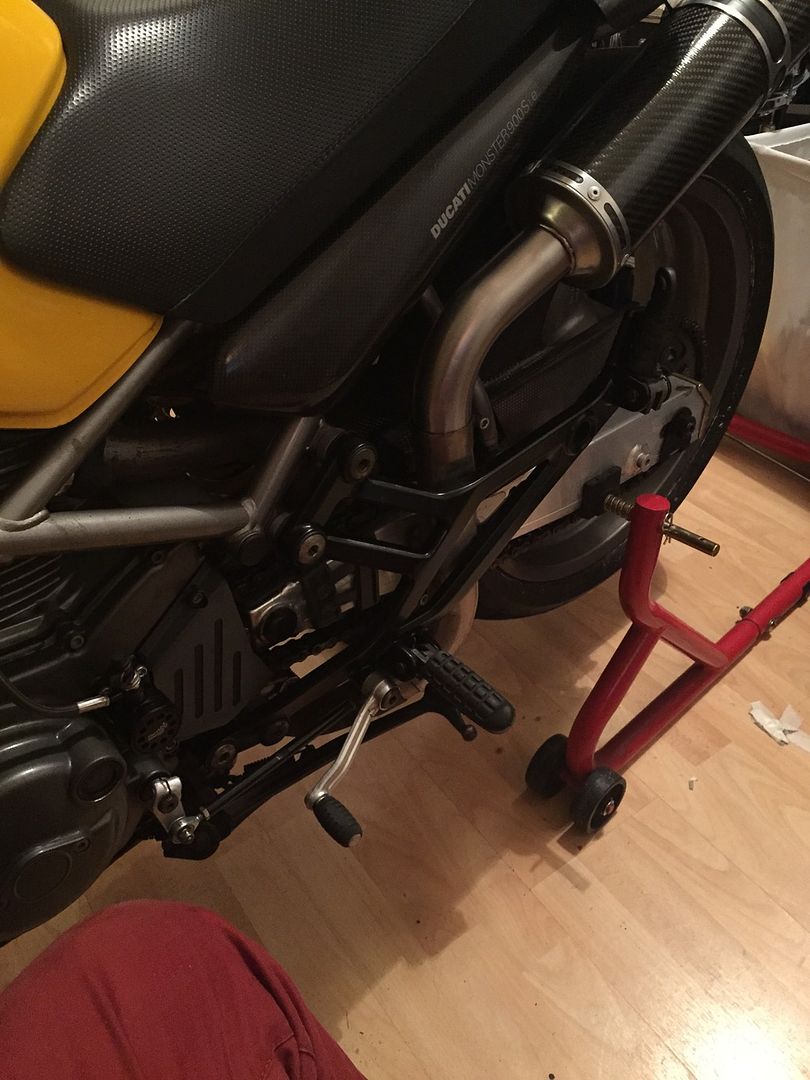
I also painted the center section of the shift rod black to match, again, happy chappy.

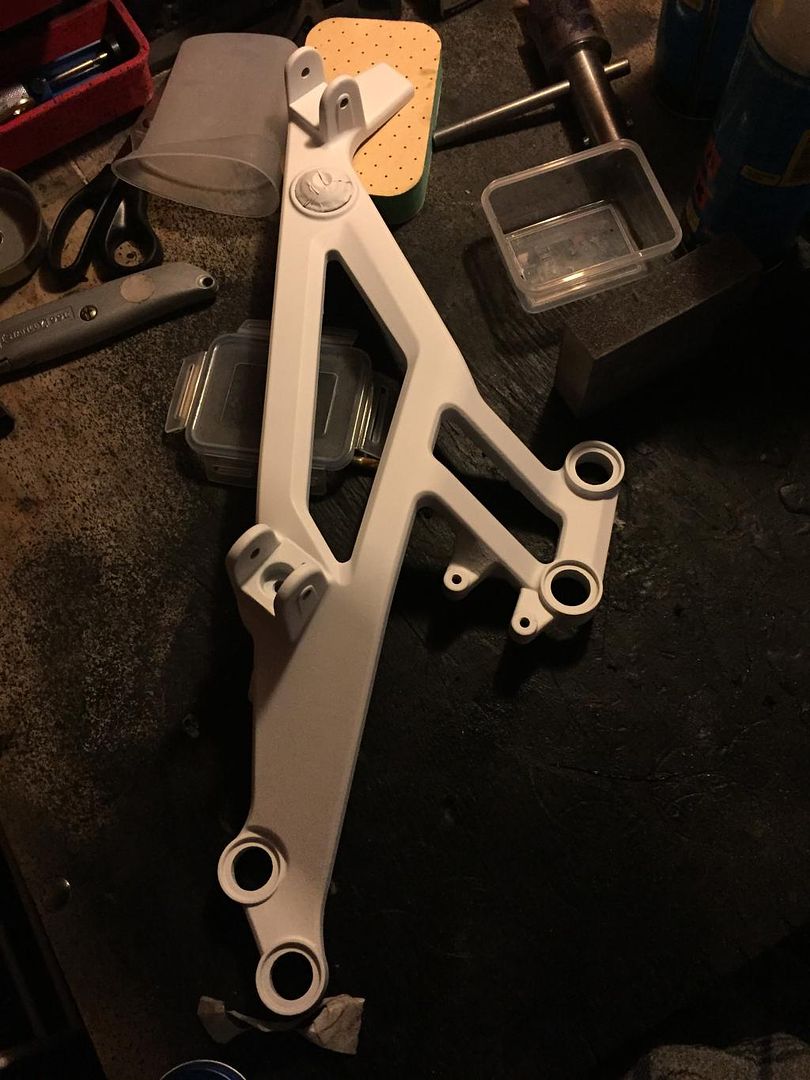
FINALLY, i got sick of the tea tray. But, being a cheapskate i didnt want to invest 40 quid in what is essentially a bracket..... so i made one! first attempt is crude, but ive learnt alot for v2........ heres the tail.... CHOPPED!


Im also working on a way to change the colour of your fork tubes which doesn't involve vinyl, spraying, ano, and is easily and completely reversible, and a child could fit! if my idea comes to fruition, i'm going to sell kits for anyone interested!


I also need help. Having an issue with my indicators..... in that all four flash at once no matter where i indicate! Fitted new indicators, and an LED flasher relay.... since then, boom, hazards.

joe
  Reply With Quote
Old 03-04-2015, 09:38 PM   #45
Dirty
Bockloks
 
Dirty's Avatar
 
Join Date: Jan 2012
Location: London
Bike: No Bike Yet!
Posts: 4,601
Exhausts look great, well done.

Tail chop looks great (they all do ). Making up the brackets yourself is by far the best solution. Where are you sticking your rear indicators once you've got them working?
__________________
Wounds heal, chicks dig scars, glory lasts forever


Dirty is offline   Reply With Quote
Reply


Posting Rules
You may not post new threads
You may not post replies
You may not post attachments
You may not edit your posts

BB code is On
Smilies are On
[IMG] code is On
HTML code is Off

Forum Jump


All times are GMT. The time now is 10:09 AM.

vBulletin Skins by vBmode.com. Powered by vBulletin® Version 3.8.3
Copyright ©2000 - 2024, Jelsoft Enterprises Ltd.