yes, I agree about the torque... there is often no point in reving past the max point... I have a shift light on my builds (5mm ultrabright LED) , set to max torque and its quite satisfying to just change up at that sweet spot!
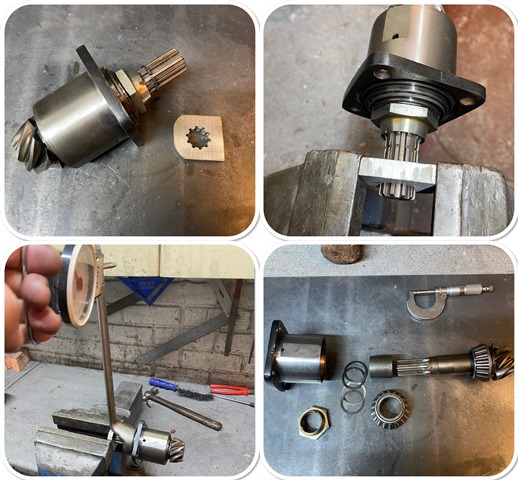
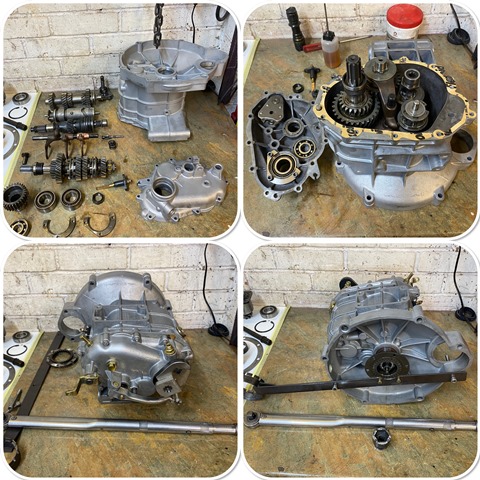
Onto building the engine… of note is the tool to compress the clutch, which is actually the centre splines off the gearbox, and a threaded bar into the crankshaft. this makes the plates perfectly aligned and makes fitting the gearbox easy.
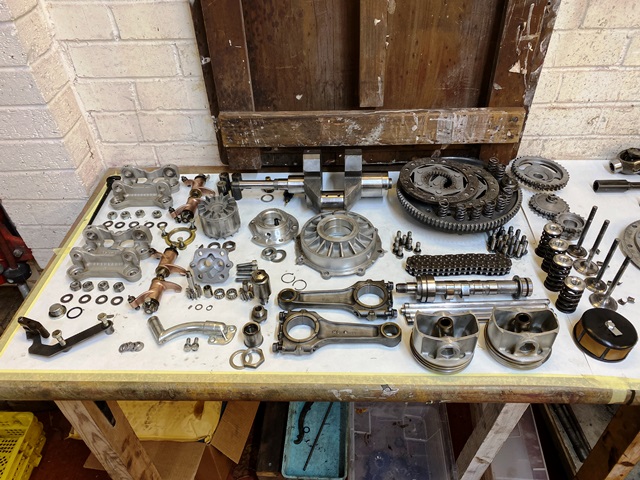
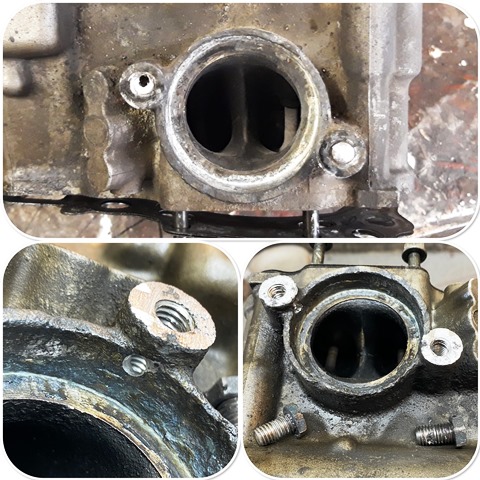
next the cylinder heads… it took three attempts on these to get the bead out of one oilway! note the new tin of grinding paste, the old one has run out of the fine end, but it was 50 years old, I can remember my Dad buying it me as a teenager! Good to see the company is still going and using the same tin! Just to be sure I checked the bores for wear… there is none at all! Got to love Nikasil bores!
here is the engine and gearbox all back together… I decided to add some accurate timing marks on the flywheel for each cylinder so I can use a strobe and see what’s happening in reality. used my new digital DTI gauge… not sure I like it… watching that needle go round is far more satisfying!
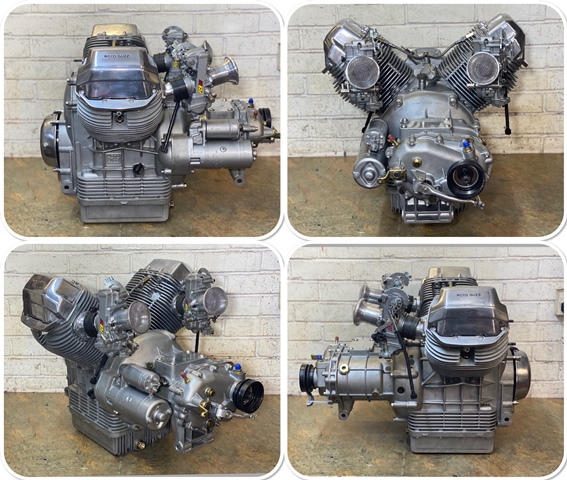
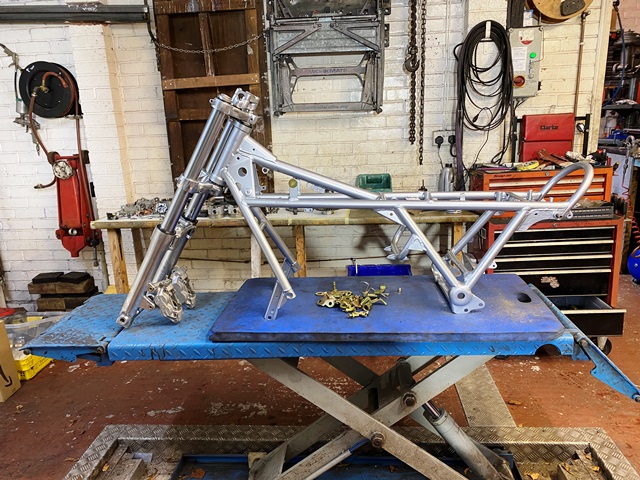
and finally its all back together and ready to go into the frame


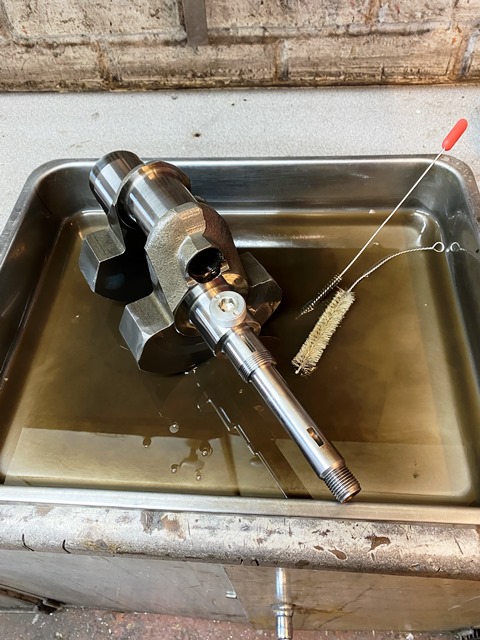


 Linear Mode
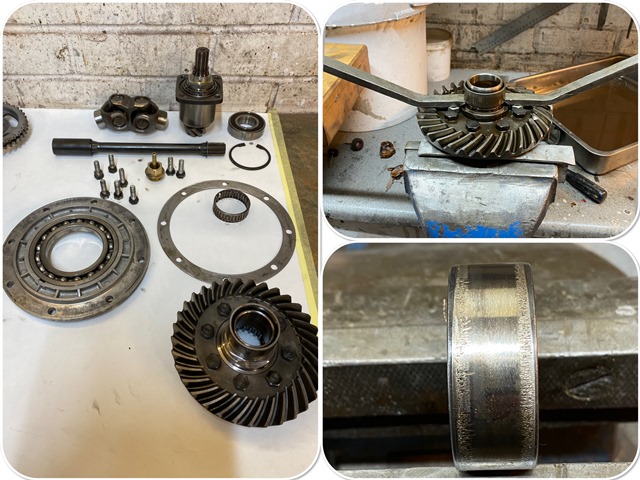

