Quote:
Originally Posted by Bitza

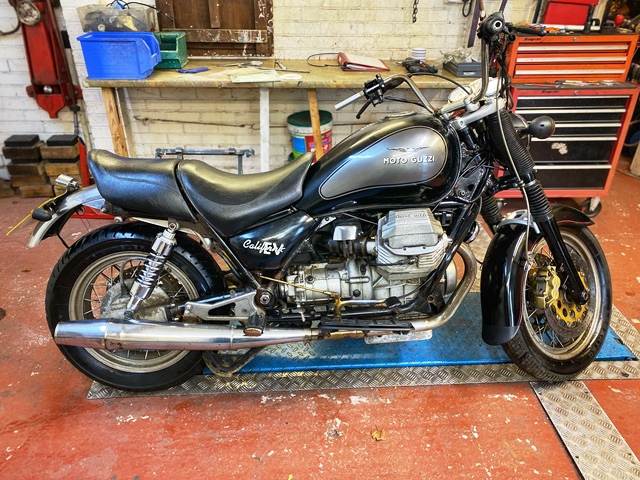
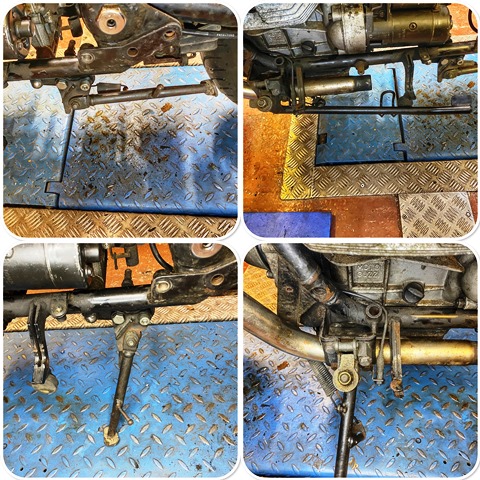
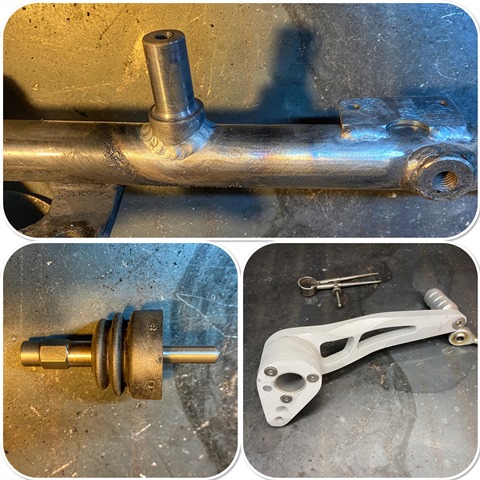
While you in mind to get rid of the prop stand bracket, how about getting rid of the bottom rails altogether, you'll need a later alternator cover with the brackets to link up with the front down tubes, vast improvement was a common period race mode. Minus two lengths of scaffold pipe has to be a good idea right?
|
I did think about it, but its a rare and expensive component... and once I had chopped off all the brackets they looked much cleaner... but what sold keeping them was although I am going for the cafe racer look, it will have higher bars and importantly med foot rests as I cant do clip ons and rearsets these days

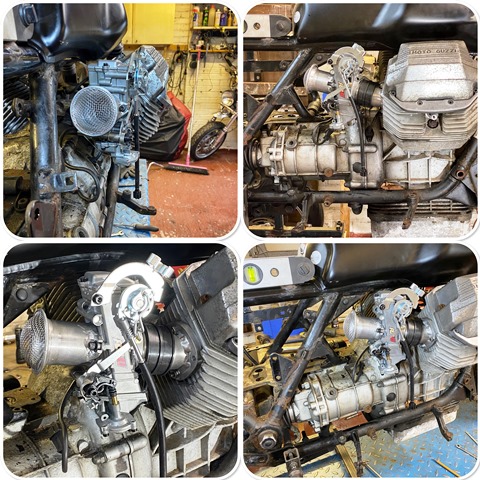
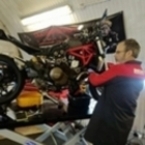
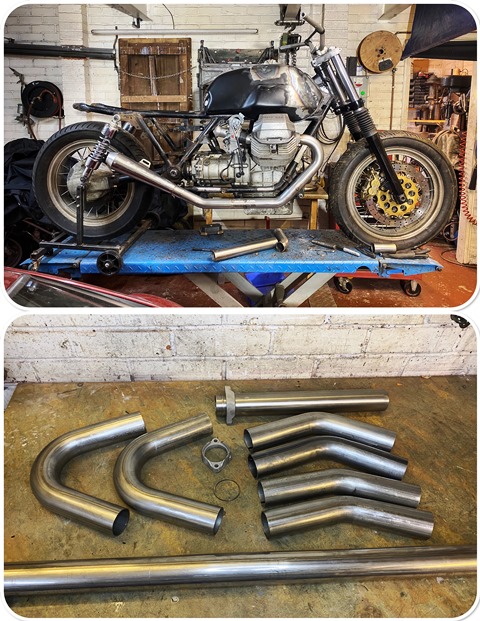
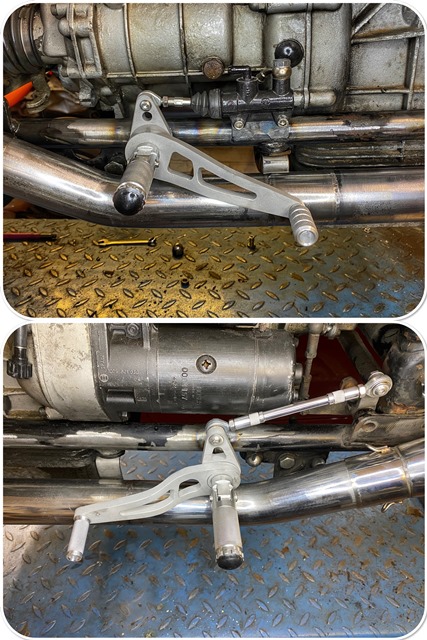
Up on the hoist for the first time
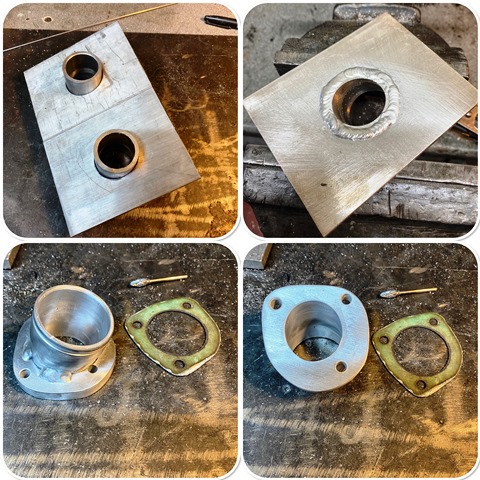
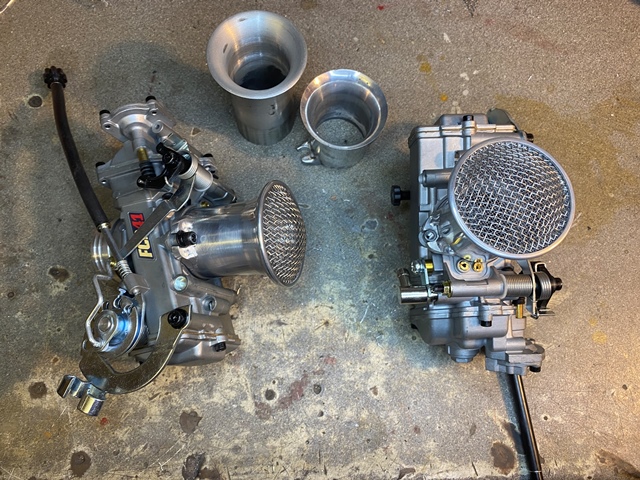
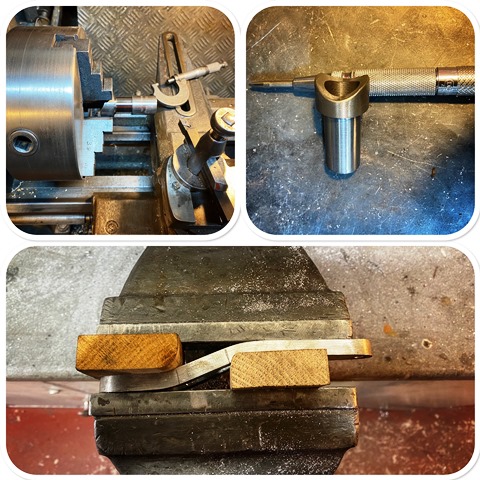
I have temporarily used a build stand that I have used for Ducatis, but I will have to make a specific one as this one will impede making the exhaust fit on the bike. First job has been to make some inlet manifolds to fit the carbs
I wanted them angled upwards and inwards, and that took some working out to get the compound angle right! it ended up as 68.5 degrees. As the carb diameter is larger than the head inlet, I needed to use a tapered tube
To do this I turned up a tapered mandrel, and after annealing the alloy tube, I pressed it in with the vice, which expanded the tube by the required few mm. I then turned a grove to accept the lip inside the carb mounting blocks.
the next bit was actually quite difficult
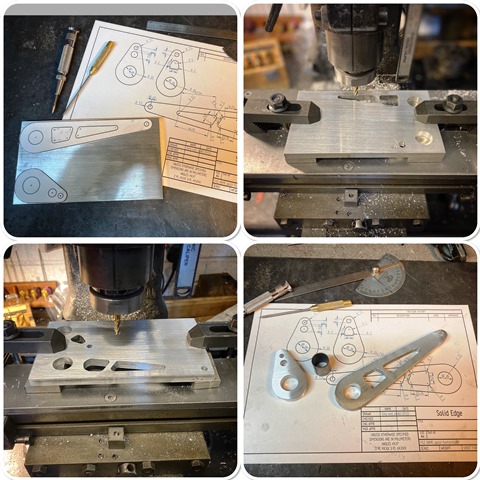
I needed to make the hole on the flange a nice fit on the tube, but at an angle. I deliberately cut the 10mm plate quite large so I could get it mounted on the milling machine at the exact angle. I then bored the hole with an indexable boring head. If that milling machine looks old, it is! I did some work on it a few months ago and found a date
1929!
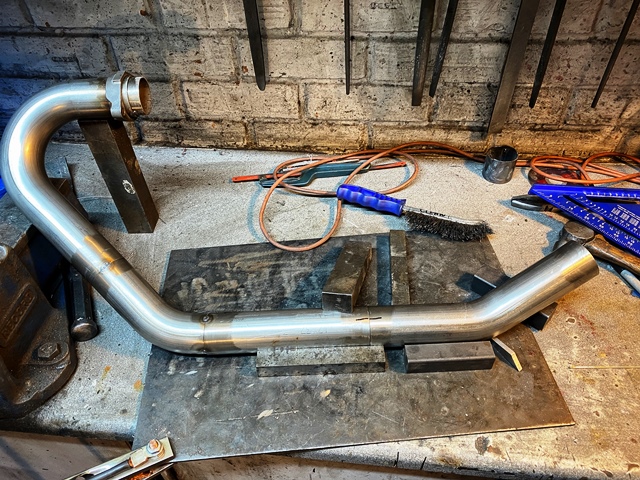
Next job was to TIG weld the flanges on, drill the holes, and finally cut to shape. here is a video of how I made them
https://www.youtube.com/watch?v=-2EfrVdAiKo&t=18s


 Hybrid Mode
