UK Monster Owners Club Forum » .: General :. » Random Chat » Life after the Slow Monster Rebuild

Reply
 
Thread Tools Display Modes
Old 21-05-2021, 06:10 AM   #91
350TSS
Too much time on my hands member
 
350TSS's Avatar
 
Join Date: Jan 2013
Location: Shipbourne
Bike: M900
Posts: 1,419
That's the one, but I was breaking out in a sweat having to pay £40 let alone what he is asking.
350TSS is offline   Reply With Quote
Old 21-05-2021, 09:02 AM   #92
Luddite
Registered User
 
Luddite's Avatar
 
Join Date: Aug 2011
Location: Southampton
Bike: M1100evo
Posts: 2,465
Quote:
Originally Posted by 350TSS View Post
That's the one, but I was breaking out in a sweat having to pay £40 let alone what he is asking.
You are rather at the mercy of sellers with these unobtanium parts. Well done for finding an alternative.
Luddite is offline   Reply With Quote
Old 23-05-2021, 08:15 AM   #93
350TSS
Too much time on my hands member
 
350TSS's Avatar
 
Join Date: Jan 2013
Location: Shipbourne
Bike: M900
Posts: 1,419
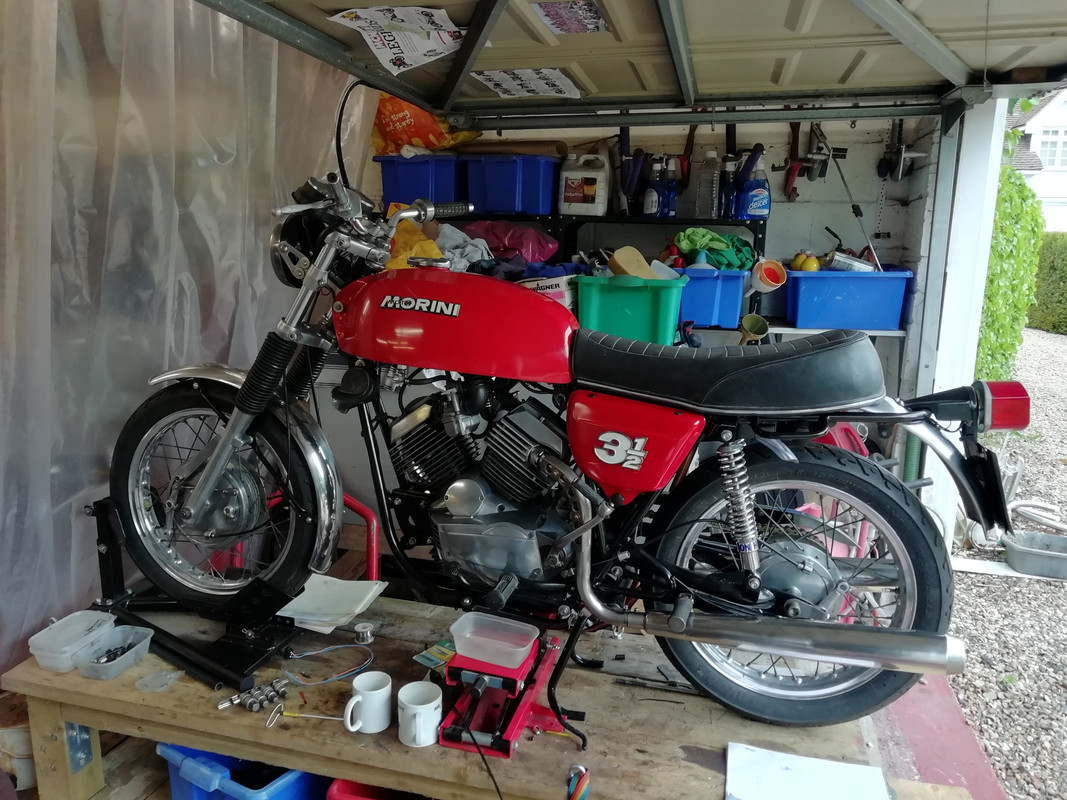
Got a number of jobs done today, as is usual when I put a bike back together I had to do a number of jobs more than once. The carbs went together OK except that I could not get the throttle cable to engage in the slides. Unlike Amals, where the cable goes through the centre of the spring and the slide has an offset hole big enough to allow the nipple to pass through and then, once located, the cable slides into a slot, the Dellortos method has the spring offset from the centre and angled so its travel is not parallel with the slide movement and the cable must sit outside the spring which then forces the nipple to be engaged with the slide. Weird but effective.
Next, I fitted the carbs and really struggled to get the air filter box in place only to realise that the air filter is bolted on first before the carburettors are pushed onto their stubs. Interestingly the air entry hole to the air filter box (measured in cross-sectional area) is smaller than the combined size of the inlet tracts.
I put the exhausts on and torqued up the back wheel which then appeared to be too difficult to freely rotate, so exhausts off again and investigate, the sprocket carrier turned freely, the wheel bearings were free - no missing spacers no witness marks on any moving parts so I put the wheel back in.
The same issue, the rear wheel would spin maybe half a turn and seemed to be tighter, then looser, then tighter. I must have had it apart 4 times with no obvious place where it was rubbing.
The bike is on its centre stand and the front wheel in one of those chock thingies, which raise the front wheel about 25mm. The rear tyre was actually just grazing the bench not enough to be really stiff or make a noise but enough to give the impression there was a tightness in the bearings or the assembly somewhere. My embarrassment was quickly forgotten as I obviously did not have what I thought was a problem.
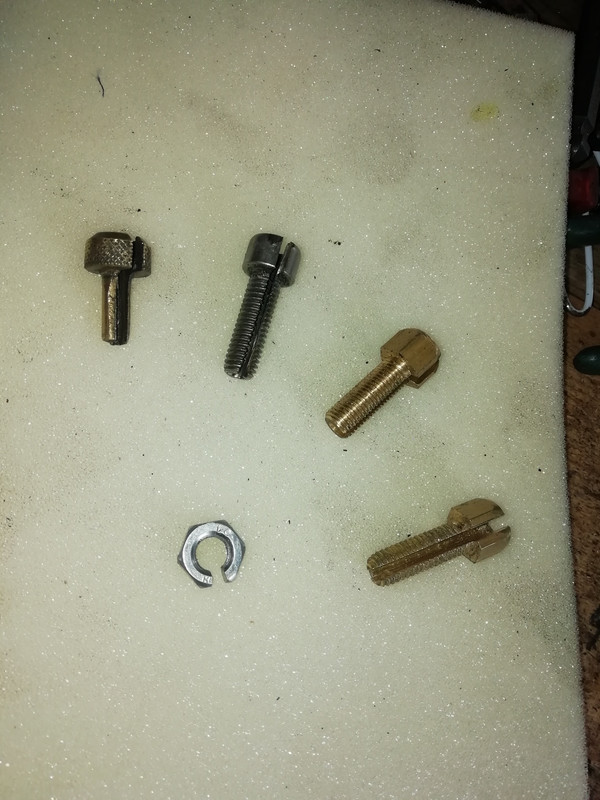
I turned up a little collar to make the back brake adjustment work and to extract the maximum life out of the brake shoes

When I came to fit the clutch cable I found perhaps the worst design feature so far.

The clutch cable adjuster is a lug cast into one half of the crankcase right on the centre split line, the adjuster is threaded m7 x 1, the nut is 8mm size and the locknut is 10mm. There is no room to put any spanner on it and because it is so far in you can only get one fingertip on it. I tried gaffer taping the cable to the adjuster and spinning the cable but I could not get the thread to start. After an hour I decided that I would have to get an M7 tap and clear the thread although I will need to make some sort of extension to the tap to be able to turn it.
Jobs left to do:
fit front brake cable, throttle cables to twistgrip and clutch cable, probably a bit of buggering around with routing etc
fit new front brake and clutch levers
shorten handlebars
fit left-hand switch assembly and wire it up
fit petrol tank and make fuel pipes to carbs
buy and fit a new rear number plate
front to back bolt tightening check
err thats it.

Last edited by 350TSS; 23-05-2021 at 08:21 AM..
350TSS is offline   Reply With Quote
Old 02-06-2021, 08:02 PM   #94
350TSS
Too much time on my hands member
 
350TSS's Avatar
 
Join Date: Jan 2013
Location: Shipbourne
Bike: M900
Posts: 1,419
Nearly there, I spent the last few days doing all the little jobs it takes to finish the bike.
Wiring in a replacement LH switch, I used pattern one from an elderly Suzuki bought from China for about a tenner. The original Morini was without indicators so I took the indicator switch out of the switch unit and blanked off the hole with a blind grommet. I have wired the headlamp and dipped beam the wrong way round but the bezel is such a swine to fit it can stay like that until I actually need to open it up again.
If there was more than one way to route any of the cables, speedo, front brake, throttle cables then guess which way it got routed on first fitting - yes - the wrong way.
There are two breathers, one on top of each rocker box which vents to the atmosphere. I started on the front cylinder and spent about an hour trying different routes for the breather pipe so it would be hidden behind the frame. Then I came to the rear one and could not find anywhere for it to go without discharging on the tyre or touching the exhaust. Eventually, I bit the bullet and routed it as a chain oiler and while I was at it made the front one do the same.
elisha cuthbert wallpaper
I am awaiting new clutch and front brake levers and I do not want to risk taking it off the wooden stand until I have a front brake.
When these are fitted I shall put petrol in it and see if it goes
State of play when I packed up for the evening.

dark wolf wallpaper
350TSS is offline   Reply With Quote
Old 02-06-2021, 08:27 PM   #95
Luddite
Registered User
 
Luddite's Avatar
 
Join Date: Aug 2011
Location: Southampton
Bike: M1100evo
Posts: 2,465
That looks superb! Bet you're itching to take it out. I know it wouldn't have had one when new but I think a nice black and silver number plate would suit it quite well.
Luddite is offline   Reply With Quote
Old 11-06-2021, 07:52 PM   #96
350TSS
Too much time on my hands member
 
350TSS's Avatar
 
Join Date: Jan 2013
Location: Shipbourne
Bike: M900
Posts: 1,419
The Morini is refusing to lie down, fighting me to the last. Today was making the brake and clutch levers (purchased from China <£10 the pair) work with the cables and ensuring that the adjuster on the 2LS front brake plate functioned.
I searched long and hard for brake and clutch levers without switches attached and in natural aluminium but could only find black anodised so they will have to do.
Both the clutch and front brake cable have lever end nipples that have 2 dimensions, 4mm x 6mm tubular and 5.8mm x 5mm tubular, the cables themselves are HD, around 2.8mm. This requires an 8.5mm bar (to fit into the hole cut into the lever) running at 90 degrees to the cable with a slot cut in it so the cable can be attached and the two tubular dimensions cross-drilled through the bar. The larger diameter of the nipple obviously has to stay within the overall bar dimension when fitted so there is not a lot of meat left. God only knows where the original ones went but they were the only things permanently misplaced during the build. It took me about an hour to make them out of brass but about 3 hours with a needle file to make them work smoothly with the levers.


Turning to the front brake adjuster, this was an unforeseen problem, mostly of my own making.
The original brass knurled adjuster had stripped its 7mm x 1.0 thread taking the thread within the brake plate casting with it.
I managed to drill it 7mm and tap it out 8mm x 1.25. First thought was that a stainless cap bolt would do the job if through drilled 3mm and slotted with an angle grinder. When installed the smooth head of the cap bolt rendered it impossible to turn without the aid of mole grips and in any event, the hex in the cap head was not a good fit on the brake cable ferrule. So I decided to make one in brass and when I offered it up I realised I had used an 8mm x 1.0 die. So I had to make another one with the right thread on it 8mm x 1.25.
Who would have thought it would take nearly 8 hours to make a brake and clutch cable work?

Last edited by 350TSS; 11-06-2021 at 07:54 PM..
350TSS is offline   Reply With Quote
Old 16-06-2021, 04:59 PM   #97
350TSS
Too much time on my hands member
 
350TSS's Avatar
 
Join Date: Jan 2013
Location: Shipbourne
Bike: M900
Posts: 1,419
Bad day at the office today.
Part 1
The first job, before taking the bike off the stand was to fit the centre stand spring. At first, there seemed to be 4 possible orientations the spring can be fitted but it only actually fits in one of those orientations, it took me about half an hour to work that out, but not before my home-made spring puller was kaput (not man enough for the job) and the immaculate paintwork on the stand had a nice patina of scratches. I tried the Allen Millyard trick of bending the spring in the vice and inserting washers between the coils but there was insufficient clearance with the washers in place to get the lower hook of the spring onto the post on the stand. I tried 3 different grades of cable ties before finally using an Allen key as a tourniquet I finally got the spring in place.
Part 2
Time to get the bike off the stand put petrol in it and start her up. The bike stand has one of those rocker devices fixed to the front and the rear wheel contact patch is very close to the edge of the stand. The bike was a bit reluctant to free from the rocker device so I yanked it from the front brake side obviously causing a bit of lock to go on, the back wheel reacted by steering off the ramp and the next I knew the bike was on top of me, half on and half off the stand. I was trapped, fortunately, my wife spotted my predicament and helped release me. No serious damage to me or the bike but a bit more patina, a small scrape on the underside of the exhaust and some scratches to the headlamp bowl.
Part 3
A gallon of Esso's finest went in and the taps were turned on. I lost about half a pint whilst I worked out which way was off on both the petrol taps, it appeared to be pouring out of both float bowls. these were removed and re-tightened up but still the same issue. The problem is either the pipe fit to the petrol banjoes (or those rather horrible spring clips distorting the pipe and causing a leak) or the sealing of the banjoes to the carburettor body (by means of 2 fibre washers per banjo).
The banjoes were removed and it was clear these washers are specials as none in my selection box was remotely similar. Ducati Paddy are forwarding me 2 sets FOC - thanks.
Part 4
It is clear that the black paint I used to paint the frame (Upol gloss black) does not like Esso's finest as in two places it has just washed back to primer.
Part 5
In trying to seal the banjoes I got my selection box of Viton O rings out and to end a perfect day I managed to knock it off the bench putting 250 little O rings in 24 different sizes all over the floor.
Happy days!

Last edited by 350TSS; 16-06-2021 at 05:01 PM..
350TSS is offline   Reply With Quote
Old 16-06-2021, 06:00 PM   #98
Darkness
.
 
Darkness's Avatar
 
Join Date: May 2007
Location: Stockbridge
Bike: M900
Posts: 1,984
Quote:
Originally Posted by 350TSS View Post
…..I searched long and hard for brake and clutch levers without switches attached and in natural aluminium but could only find black anodised so they will have to do…..
When you say ‘without switches attached’, do you mean lights, horn, starter, indicators and kill, or just a brake light switch, because these look pretty good to me, albeit a bit more than £10 per pair:

https://www.ebay.co.uk/itm/254924850...UAAOSwQNNeXkDk

There’s probably similar on any small trail bike of the 70s, so second hand may be an option for the brackets.
__________________
Original and Best since 1993
Darkness is offline   Reply With Quote
Old 16-06-2021, 07:16 PM   #99
350TSS
Too much time on my hands member
 
350TSS's Avatar
 
Join Date: Jan 2013
Location: Shipbourne
Bike: M900
Posts: 1,419
Yes a lot of levers come with the switch casting integral - and £80 for a pair of levers is a bit rich for a pensioner
350TSS is offline   Reply With Quote
Old 22-06-2021, 06:00 PM   #100
350TSS
Too much time on my hands member
 
350TSS's Avatar
 
Join Date: Jan 2013
Location: Shipbourne
Bike: M900
Posts: 1,419
Nearly there, but frustratingly, not quite.
I must have spent 6 hours in total trying to get the fuel line banjoes to stop venting fuel to the atmosphere. The banjoes are located on each carburetor on the inner face just above the float bowl. At first, I thought they were leaking from the mating flange to the carburetor body (sealed by a Dellorto bespoke fibre washer). They are retained by a 6mm hex bolt with a handy milled slot to take a flat blade screwdriver, well it would be handy if you could get a flat blade screwdriver on it but the other carburetor always denies access. The space between the carburetors/air filter box/frame tube only allows a stubby 10mm spanner one half a flat movement. I must have had the banjoes on and off about 12 times and if the pipes are connected there is always the fear that the retaining bolt will cross thread/strip the thread in the carburetor body.
wish you were here love poems
I am now pretty certain that the leaks were between the petrol pipe and the banjo pipe, because of the volume of the leak. I have tried the petrol pipe clips with the "ears", the crimp up SS type, and jubilee clips but I still have a leak when the taps are turned on from the area adjacent to the RH carb banjo. I have cut 3 different sets of petrol pipes as taking them on and off makes them looser and therefore more likely to leak. Tomorrow is a new day and I shall prevail.
Bored with removing banjoes, I thought I would see if there was any life in it. Obviously, I could not turn the petrol on so I squirted some carb cleaner down the plugholes, cleaned the plugs and put them back in, and kicked it over. First kick it roared into life and ran until the carb cleaner and what remained in the float bowls was burned off. The only downside was the kick-starter rachet was screaming so I will have to check what I can do about that. You have to pre-load the splined shaft so that the kick-starter lever returns to its stop. I used the maximum permitted measurement of pre-load to ensure that the lever did indeed return to its stop so maybe I have just got to set it up with the minimum permitted pre-load and see if it still screams.

Last edited by 350TSS; 22-06-2021 at 06:03 PM..
350TSS is offline   Reply With Quote
Old 26-06-2021, 02:18 PM   #101
350TSS
Too much time on my hands member
 
350TSS's Avatar
 
Join Date: Jan 2013
Location: Shipbourne
Bike: M900
Posts: 1,419
Nearly done, a few false dawns on making the banjoes seal but now accomplished.
I basically had 3 problems with the banjoes
1. the BS spec 8mm bore reinforced petrol pipe I was using was not quite 8mm but nearer 8.1mm, it engaged on the barbs on the banjo but was just too easy to push on and when a pipe clip was tightened the pipe lozenged where the worm drive was and left a small gap. Cured by using some thin wall petrol pipe without reinforcement that would probably have sealed without clips as it was extremely difficult to get on the banjo pipe.
2. the sealing face of the banjo was eroded by corrosion and was not quite flat, cured with some 600 W&D on a surface plate, and
3. the fibre washer I had was 0.5mm too large and did not seat correctly, cured with a small flat needle file
New plugs and it started second kick.
The screaming kick-starter ratchet was cured by backing off the pre-load when fitting the lever on the kick-starter shaft. The return spring is too tired to return the kick-starter lever to the stop so I found a 50mm dia 4 coil spring made from circa 1.5mm wire and bent the inner end to abut against an angle in the crankcase cover and the other end of the spring was folded into a U shape to clasp the kick starter lever. To prevent the spring damaging the crankcase I made a 60mm OD x 45mm ID polypropylene washer 3 mm thick and shrouded the ends of the spring with some heat-shrink sleeving and finished off with some 3mm bore polypropylene windscreen washer hose. If it was 2mm thick spring steel and I had bent it more accurately it would have worked perfectly but as it is it almost works, requiring on occasion some manual help to get the lever to sit on the stop.
There are two jobs left to do
a) tune the carburetors, mainly throttle stop position, and the pilot air screw adjustment
b) check the ignition timing - adjustment is via rotation of the pick-up plate and the use of a strobe light on the flywheel.
I also need to renew the tyres as I bought them in 1993, they are barely worn and will probably stay on there until I have given it a good shakedown.

Last edited by 350TSS; 26-06-2021 at 02:20 PM..
350TSS is offline   Reply With Quote
Reply


Posting Rules
You may not post new threads
You may not post replies
You may not post attachments
You may not edit your posts

BB code is On
Smilies are On
[IMG] code is On
HTML code is On

Forum Jump


All times are GMT. The time now is 05:20 AM.

vBulletin Skins by vBmode.com. Powered by vBulletin® Version 3.8.3
Copyright ©2000 - 2024, Jelsoft Enterprises Ltd.