The other thing the powder coater did for me was the plating
but he didnt, despite having it a month. I used to do this myself with a home kit, but it was hugely time consuming and he would do a batch for £45. I knew this had potential to hold me up again so after the bank holiday I made a list of local companies that did plating. The first one I visited said I would need to open an account
and the minimum invoice was £120
The second one, the reception was locked, so I wondered into the factory via a side door to be met with a very friendly guy, the owner of the company. I showed him what I had and he said he would do it
but they had a minimum charge
£28! He said come back next day as he would do it at the end of todays production run. Next day I popped back
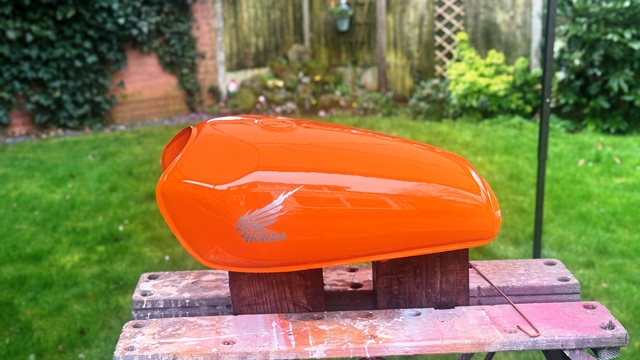
Fantastic job!
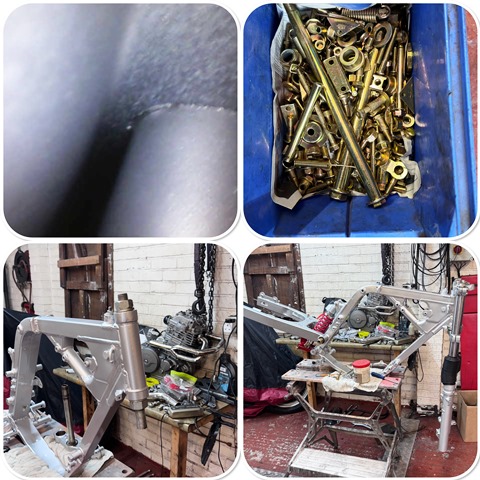
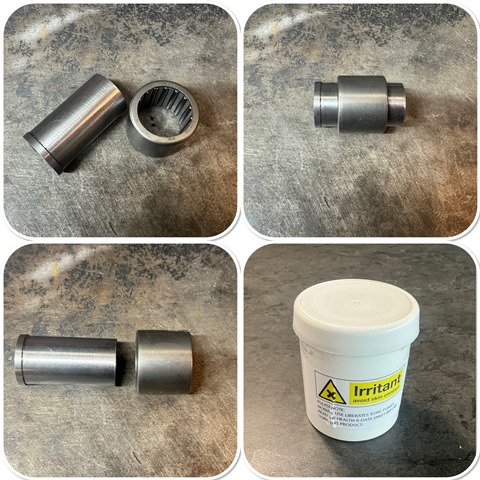
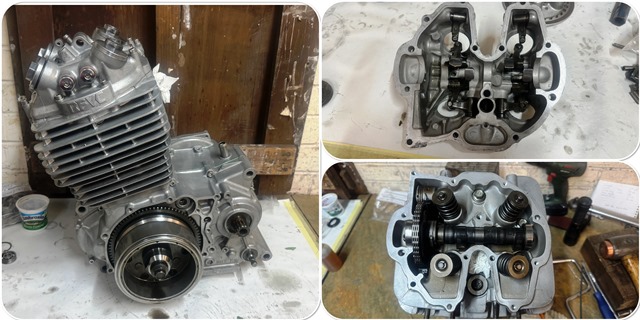
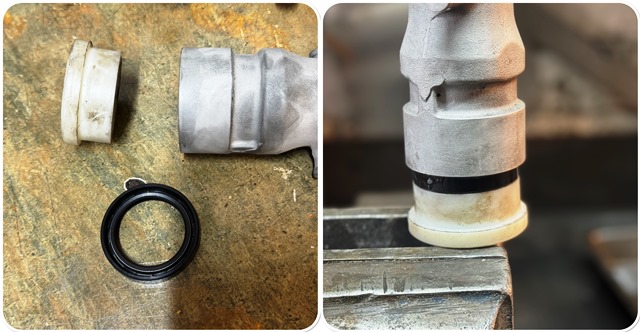
I hate hammering bearings in where there is an alternative
so I pull the head bearings into place with a large piece of threaded bar, this works a treat and allows the bearings to be seated nicely before assembling the headstock.
One job I needed to do was to check that there was no blasting media in the frame oil tank. Although I had sealed it you never know, that blast media has a habit of getting inside! I used my bore scope which is an excellent bit of kit! It has an 8mm camera probe and LED lights, it plugs directly into my phone so I can see inside things like engines, it takes stills and videos! All for £15! No sign of any media at all.
As I was doing it my wife came into the garage with a coffee
I said let me have a look in your ear
I checked inside her ear and said just as I expected
nothing in there she silently walked out
with my coffee

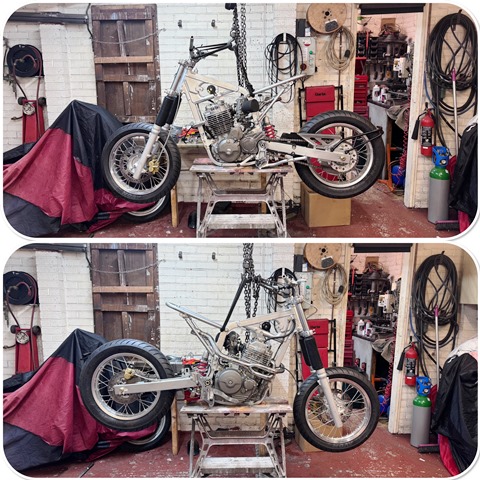
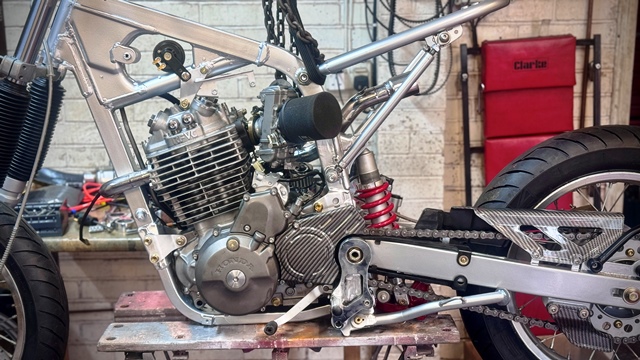
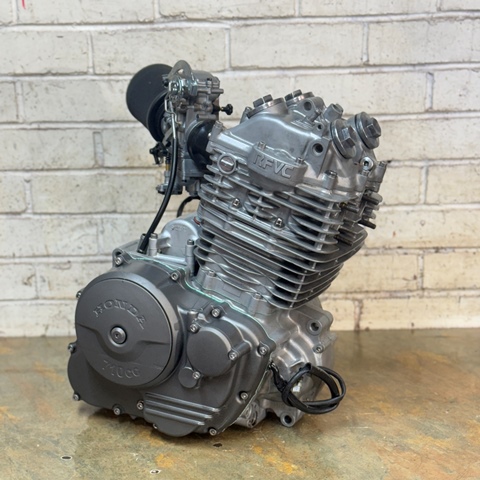
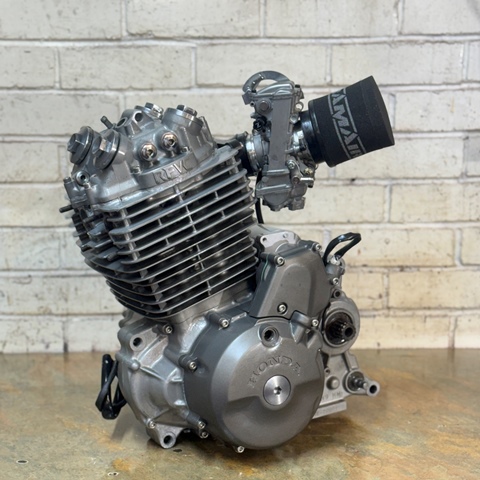
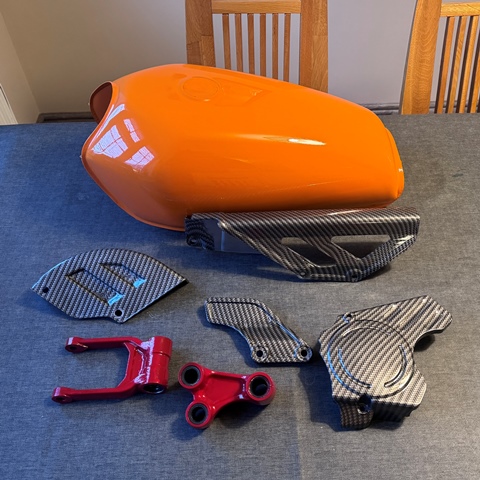
Its all coming together fast now as you can see


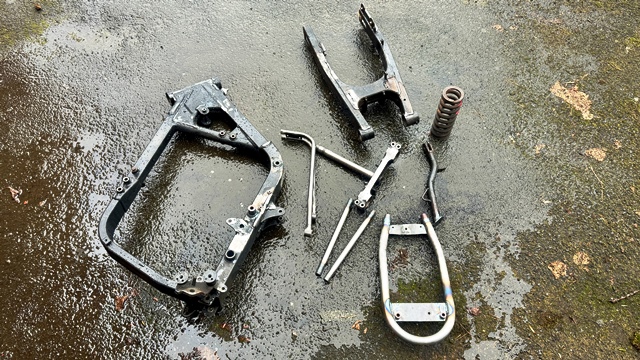


 The company I have used for many years for powder coating has messed me around for a month now, lots of broken promises, which resulted in me going over this morning and fetching it all back. Some of it is done, but not up to the usual standard, and the frame has just been blasted. Still charged me the price as if it was all done. Didnt argue, just walked away.
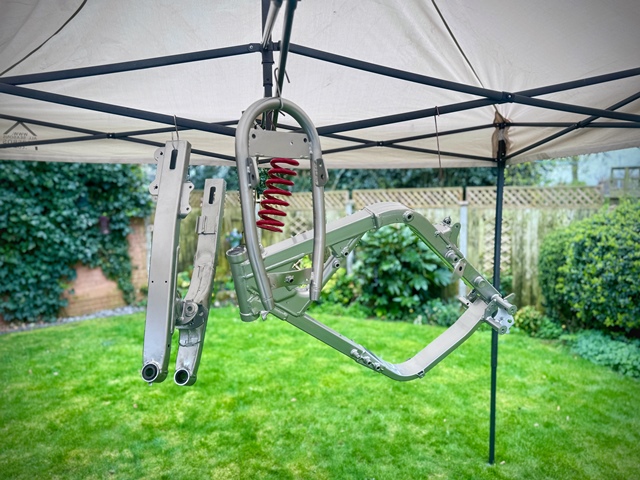
 Linear Mode

