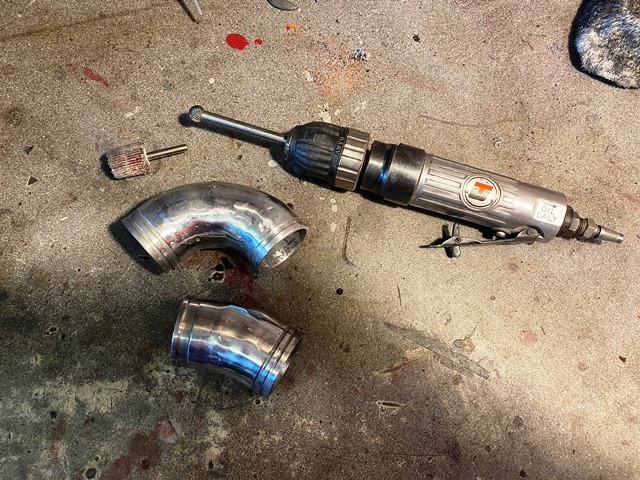
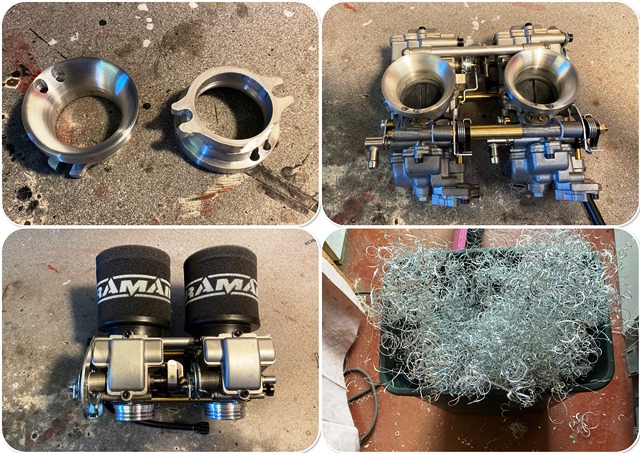
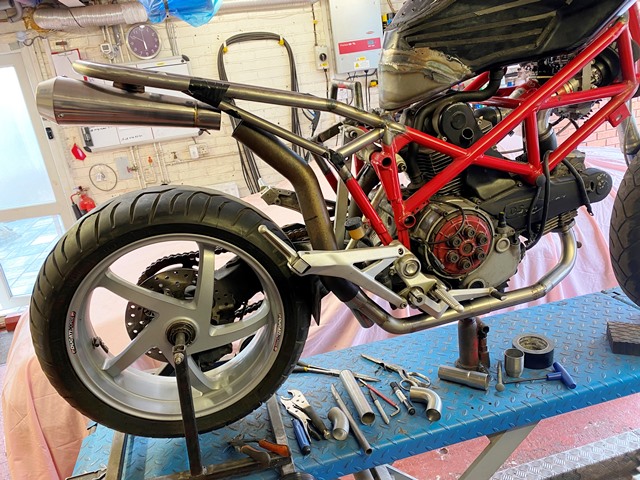
To mount the carbs I needed to make some alloy custom manifolds. I made these using the pie /lobster cut method. I set the chop saw to 7 degrees and cut off a selection of pieces and tape them together until I have the right shape… I then mark the position of each and weld them together, ensuring I have good penetration, which I then grind off inside to make them smooth. the long bur in the picture is a beast to use!

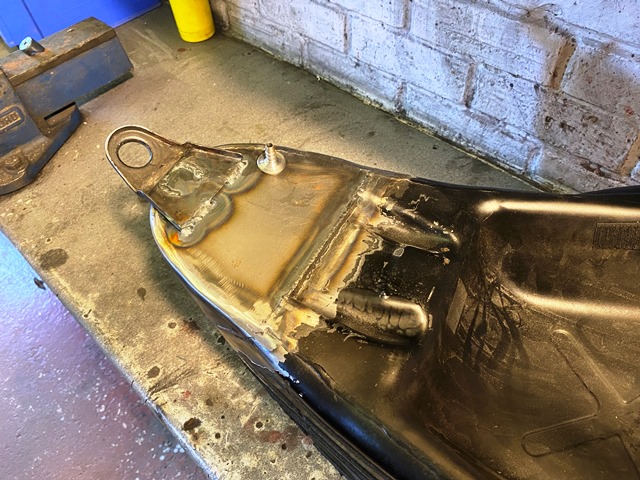
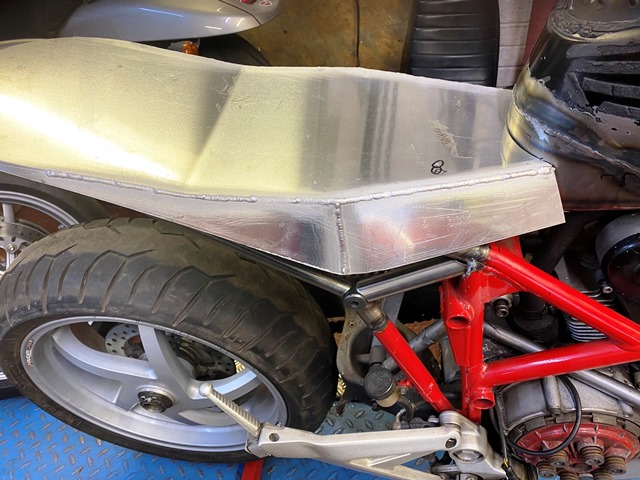
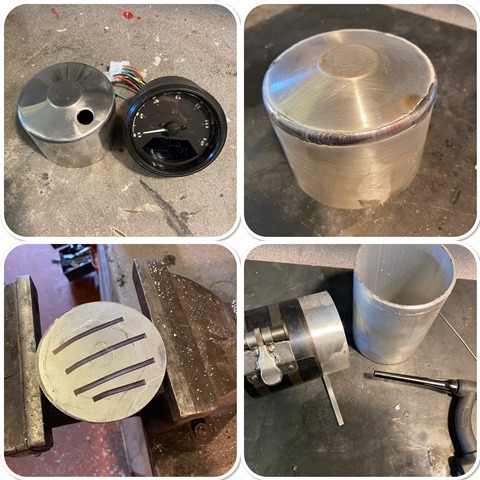
Onto the tank. I managed to source a very clean 999 tank, but of course this is too long for the build… so out came the angle grinder and off came the back! measure twice cut once!. I then fabricated a new back end and welded it into place. When welding stuff like this, everything needs to be clean for a good half inch either side of the weld, so I clean both sides with emery paper, and use to carb cleaner to ensure there is no grease… also wipe the welding rod with some as well…
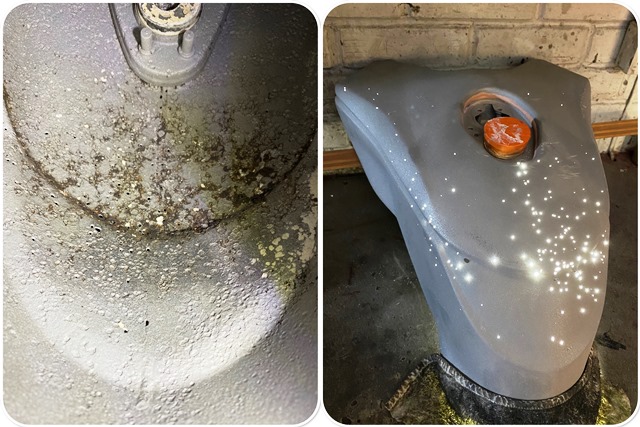
Once the back/side piece was in place I planished the sides so the new piece had the same radius as the tank. then I welded the bottom in. to test for leaks I use two methods… some dye penetrant and developer, and if it passes this test, I do a final check with air at just 3 PSI and squirt it with soapy water.


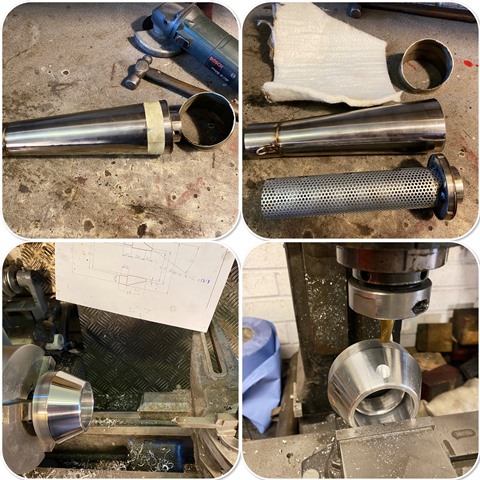


 Linear Mode
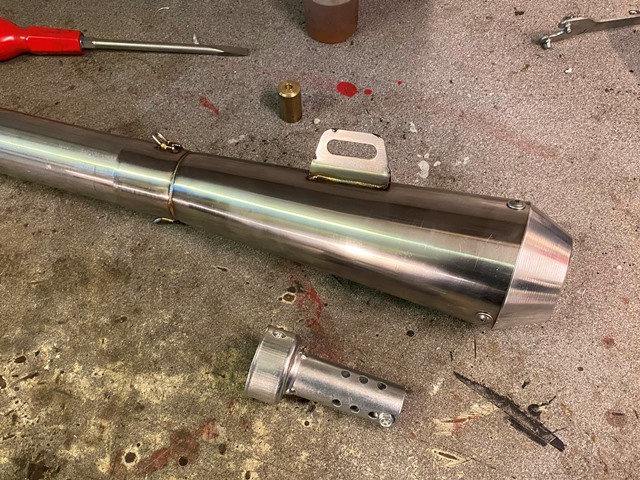

